Blueberry Ice cream

Firstly, I should thank Meena for posting the Mango Ice cream recipe that I couldn’t wait any longer to make one which has been long pending in my to-do list. In fact I have followed her method of making though I opted to make a blueberry ice cream. Thank you Meena for sharing such a quick and easy recipe with no ice cream maker 🙂 It turned out to be really creamy.
The hard part was trying to picture the ice cream before it melted. With the humidity here that happens in a jiffy. Nevertheless it was great and yet another learning. But while I was browsing on photo shoot tips for frozen desserts, is when I came across the fact that during most photo shoots for ice creams  they use mashed potatoes (colored to suit different flavors). So that answers my big Q on how does the ice creams stay that way without melting.
I first sampled this flavor after I got here and ever since this has been one of my favorite flavors apart from Vanilla and strawberry. Chocolate isn’t for me. Yes, I am not a chocolate lover. It’s as simple as that and weird I know! And for the little one, it was a scoopful of her favorite berry.
 
Blueberries burst with healthy goodness and they are delicious. If you can’t find fresh berries, you can use the frozen. But thaw them completely before you use.
 

You need –

  • Fresh blueberries – 2 cups
  • Caster sugar – 2/3 cups
  • Milk – 1 1/2 cups
  • Whipping cream – 1 cup
  • Lemon zest – 2 teaspoons
  • Vanilla essence – 1 teaspoon
  • Water – 2 tablespoons
How to –
 

In a small bowl mash the lemon zest with 1 teaspoon of sugar to release the oils. set aside.
Rinse the berries well and place them in small sauce pan. Add 2 tablespoons of water and cook over low heat until tender. Around 8-10 minutes. Turn off the heat and allow to cool and puree in a blender. Set aside.

In pan heat the milk and sugar stirring till the sugar has dissolved completely. Turn of the heat and allow to cool at room temperature. Once cooled stir in the blueberry puree, cream, sugared zest, vanilla essence and beat well with a electric beater till everything is combined.

Pour the mixture into a container and cover tightly and freeze for an hour. Remove and beat with an electric beater for a couple minutes and into the freezer. Repeat this process 3-4 times at regular intervals to ensure that no crystals are formed and the ice cream is creamy. Into the freezer for a final freeze to set for 6-8 hours or over night undisturbed.


Remove the ice cream from the freezer 5 minutes before you serve so its easy to scoop it out.

Till next time.. Take care 🙂
.

Black and White Wednesday #94

Black and White Wednesday, an event created by Susan at “The Well-Seasoned Cook” and this time hosted by lynnylu of cafelynnylu”  and click here to see who is hosting the next roundup.

Here is my picture – Cookies


Cauliflower pakoras/pakodas


It’s been raining the whole day here and well a curving for these deep fried fitters was just obvious for tea time.  These are excellent to snack on or serve them as a starter with your favorite chutney.  I like it with mint-coconut chutney but today we just dipped them into some ketchup and Chili sauce.

The recipe is adapted from the cookbook every Indian. 


You need –

  • Cauliflower – 350 grams, cut into small florets
  • Gram flour – 130 grams
  • Corn flour – 2 teaspoons
  • Garam masala – 1/2 teaspoon
  • Turmeric powder – 1/4 teaspoon
  • Chili powder – 1/2 teaspoon (or as per your taste)
  • Coriander powder – 1 teaspoon
  • Baking soda – a good pinch
  • Vegetable oil – for deep frying
  • Salt to taste
  • water for making the batter
 

How to –

To make the batter , In a bowl mix together Gram flour, corn flour, Garam masala, turmeric powder, chili powder, coriander powder, banking soda and salt with enough water to make a thick batter. Set aside for 30 minutes. After 30 minutes, mix little more water  ( around 2 teaspoon) and beat well with a egg beater. The batter should be thick like a double cream.

Heat a deep frying pan with enough oil. Once the oil is hot (170 C), dip the cauliflower floret into the batter and coat well. Drop the florets into the hot oil and fry till golden brown and crispy. Make sure you don’t overcrowd the pan and fry in them in batches.


Once done remove from the oil and drain on kitchen paper. Serve hot with chutney or ketchup for your afternoon tea.


Mango Jumbles


The house smells divine today. The mango essence has filled the house and we totally feel like we are amidst some baskets of ripe mangoes. The king of fruits rule even in the form an essence.


Mango Jumbles are mango flavored biscuits. They are crispy and delicious.  You could use any flavor of your choice. Trust me they are easy to make too. 

You need –

  • Unsalted butter – 45 grams @ room temperature
  • Caster sugar – 1/4 cup
  • Egg – 1/2
  • Mango essence – 1/2 teaspoon
  • Plain flour – 1/2 cup
  • self rising flour – 1/2 cup
  • Milk – 1 tablespoon @ room temperature
How to –
 
Pre-heat the over to 160 C.
 
In Bowl beat the butter and sugar till creamy. slowly add in 1/2 the egg and mango essence.
 
 Add the flours and mix to a firm dough. Move the dough to a floured surface and roll out until 1/4 inch thick. Using a cookie cutter (s), cut into shapes. (I used different shapes).
 
Place the cut dough to baking tray lined with parchment/baking sheet. Glaze with milk and bake for 10-15 minutes or till slightly golden.
Cool on the tray for 5 minutes and then transfer to a rack to cool completely.


Couscous and bacon salad

 
The staple food of North Africa and is made from fine semolina. Traditionally the couscous is steamed over a pot in which the meat or veggies are cooked. In here we find mostly the instant couscous which just needs to be added into a pot of boiling water and stock. Cover and allow to stand for 5 minutes or as per the instructions on the packet.
 
Well this is also one of my standbys when I need to make something quick. Its perfect with  stew.


You need –

  • Couscous – 1 cup
  • Chicken stock – 1/2 cup
  • Water – 1/2 cup
  • Bacon – 150 grams (chopped in small pieces)
  • Bell pepper – 1 (I used 1/2 of yellow and 1/2 of green). Finely diced
  • Paprika – 1 teaspoon
  • Garlic – 1 clove, minced
  • Olive oil – 1 tablespoons
  • Lemon juice – 2 teaspoons
  • mint leaves – finely chopped, 2 teaspoons
  • Parsley 
 
How to –
 
In pot, bring the stock and water to boil. Turn off the heat add the couscous, cover and allow to stand for 5 minutes or until the liquid is all absorbed. Fluff with the fork occasionally.

Heat 1 teaspoon of olive oil in a pan, add the garlic while the oil is still cold and cook till soft over low flame. Add the bacon and fry till crispy. Add the paprika and stir briefly.
 
Now add the bell pepper and cook for 2 minutes. Make sure not to over cook the bell pepper.


Turn off the heat and add the bacon-bell pepper mixture to the couscous. In a small bowl mix the remaining olive oil and lemon juice and drizzle over the couscous; toss well to combine. Garnish with chopped mint leaves, parsley and serve.


Bagara baingan

 
Wonder if you would believe if I said that eggplant is one of my favorite veggie and I have just one recipe out of my `185 posts. Well it’s decisively, as the man hates it. And the lazy I, as you know hates to cook for self.
 
After a long pondering, I decided to cook eggplant yesterday and got the man to promise he was going to have it too.  So decided with the baraga baingan of Hyderabad, where the egg plant is cooked in such a bracing way.  Hyderabad, a foodie’s paradise as it’s also known and unfortunately I have never visited the place. But happy enough that I have got to taste some of the best Andhra cuisines back in Bangalore and here in Singapore, Andhra curry is a favorite spot.
 
The city of Nizam’s is sure a foodie’s paradise and this curry is truly fit for the kings.  The best eggplant curry I have ever had where the eggplant is cooked in a blend of aromatic spicy sauce. The man was happy though he had just one eggplant but the gravy was gobbled away. Happy me and I am going to make this often 🙂 
 
Over to the recipe, Bagara Baingan a Hyderabadi curry, where baby eggplants /bringal/ aubergine are cooked in a spiced coconut, groundnut and sesame paste.
 
You need –
  • Small eggplants/brinjal – 6 nos
  • Onion- 1 large, sliced
  • White sesame seeds – 1 tablespoon
  • Coriander seeds    1 1/2 teaspoon
  • Peanuts – 2 tablespoon
  • Cumin seeds – 1/2 teaspoon
  • Grated coconut –  2 tablespoon
  • Fenugreek seeds- a pinch
  • Ginger – 1 inch piece ,roughly chopped 
  • Garlic – 4-5, roughly chopped 
  • Turmeric powder – 1/4 teaspoon
  • Red chili powder – 1 teaspoon
  • Tamarind – a small lemon size, soaked in 1 cup warm water
  • Oil – 1 tablespoon
  • Salt to taste
  • Coriander leaves to garish
How to-
 
Wash eggplants well and make slits along the length making sure that the eggplant is held together at the stem. .Set aside.
 
 
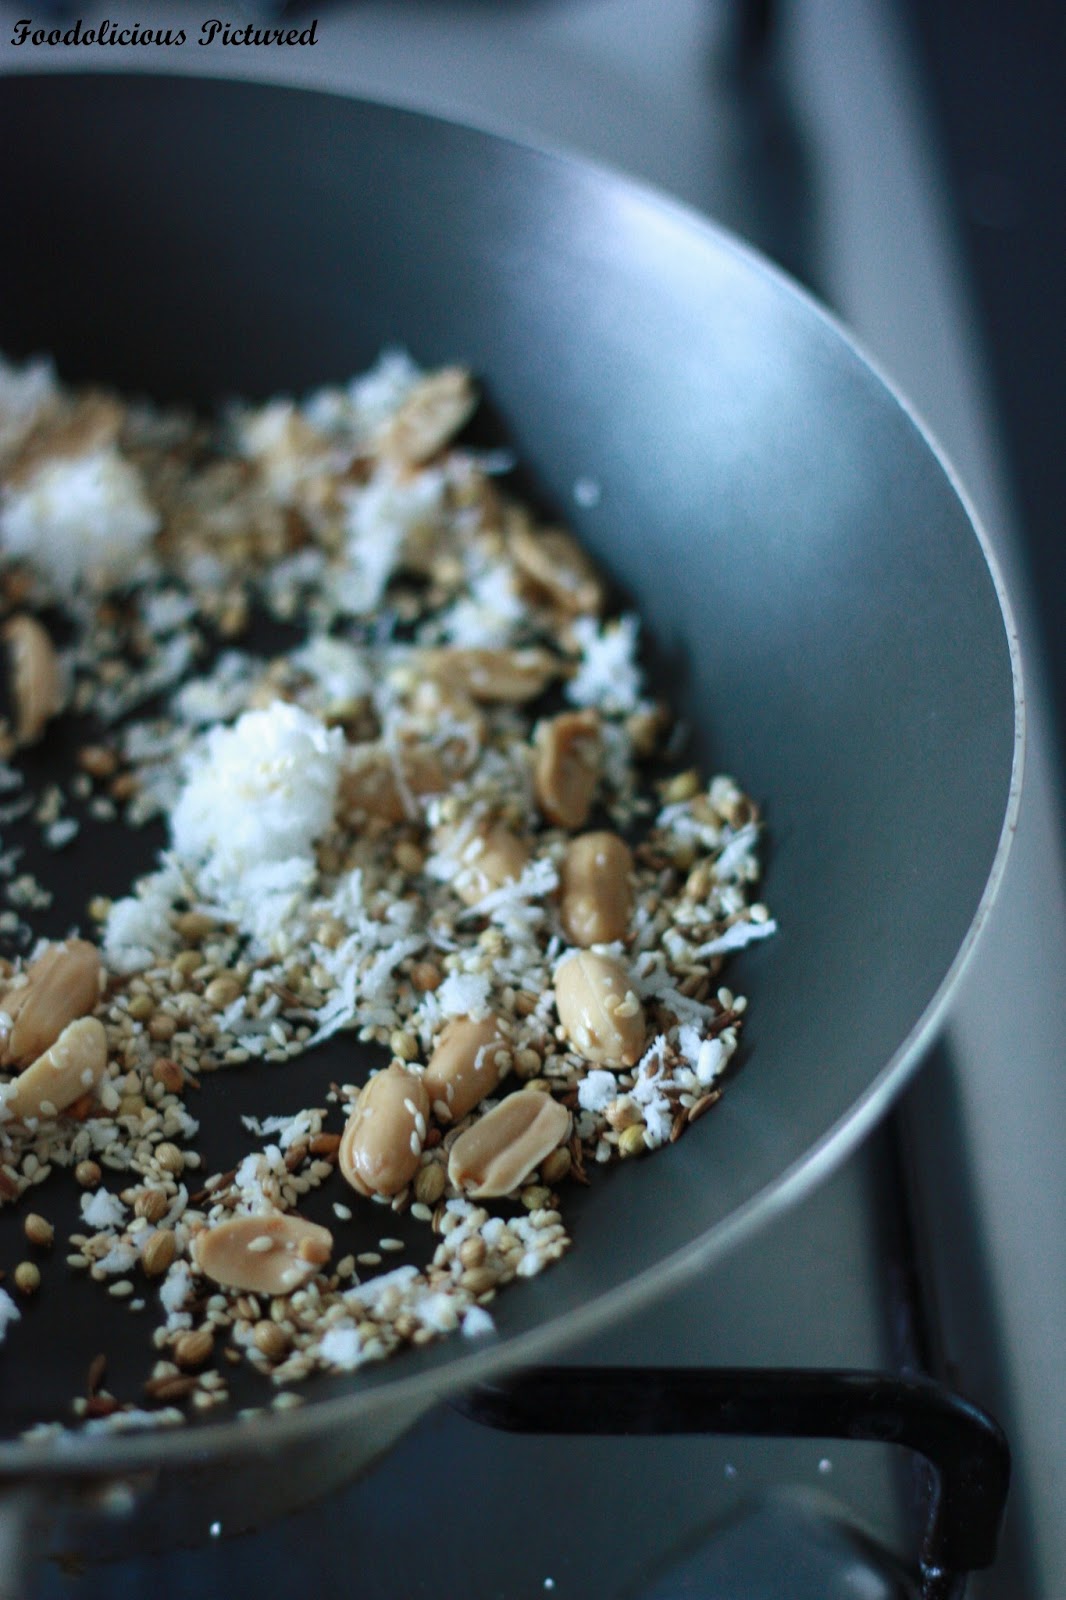
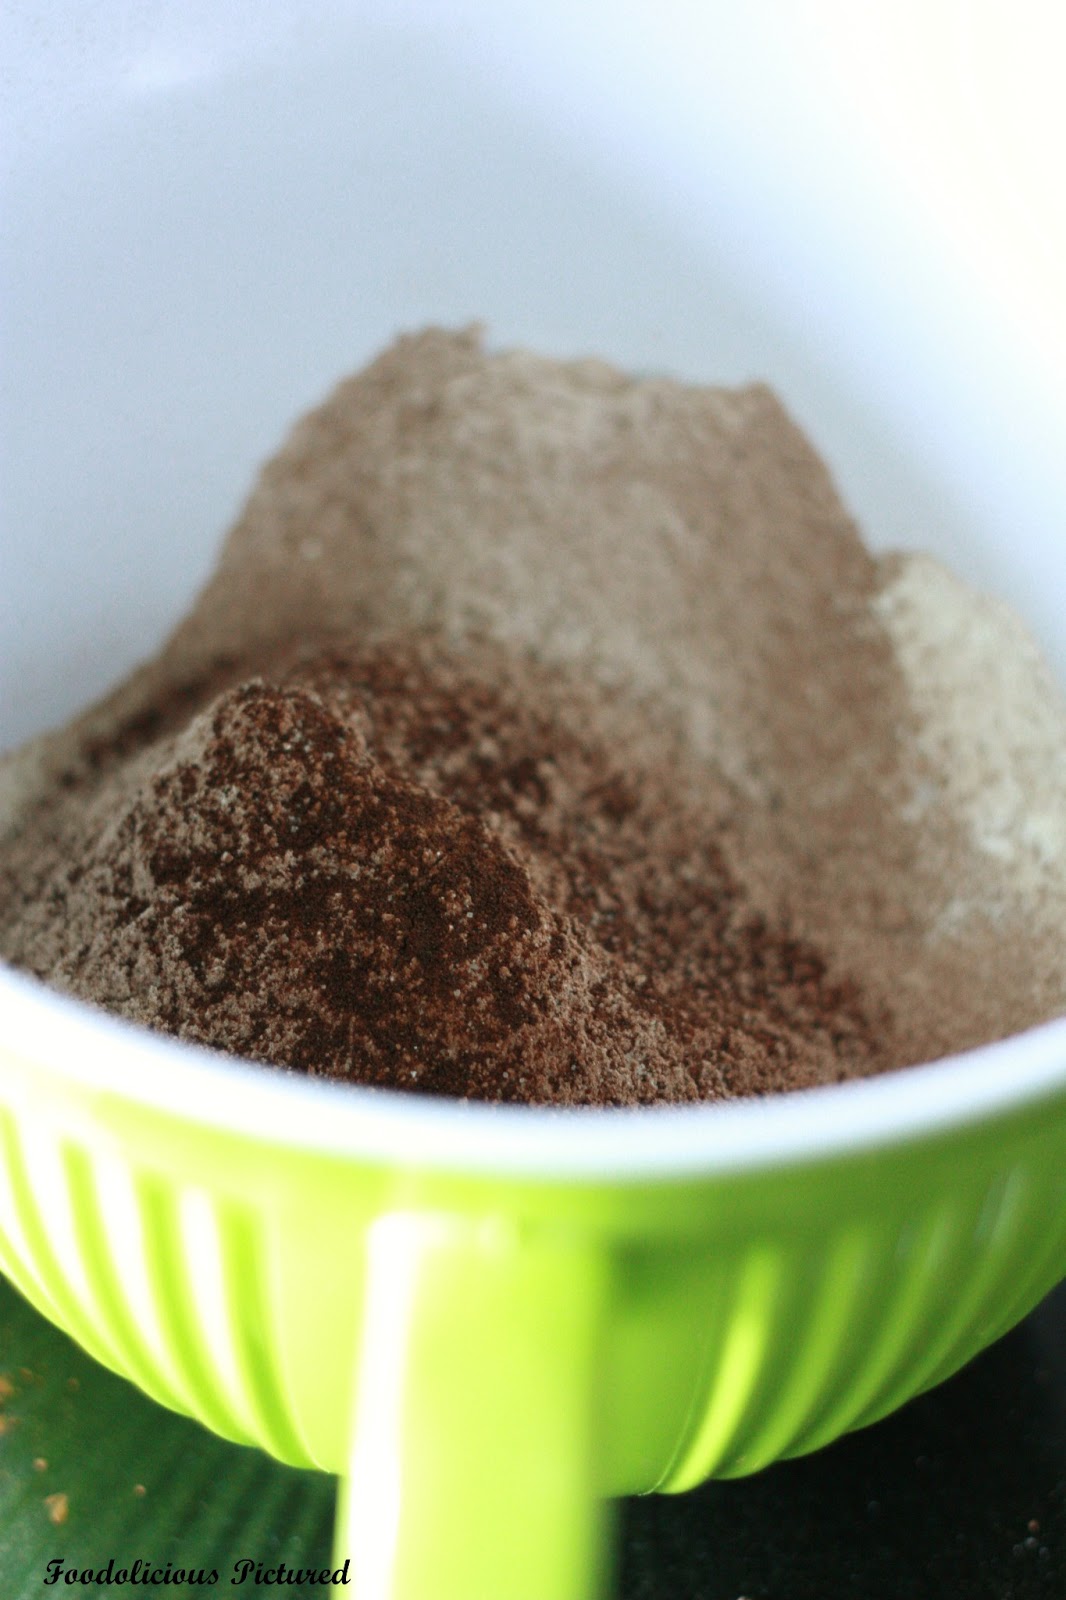
Dry roast together coriander seeds, sesame seeds, peanuts, cumin seeds, coconut and fenugreek seeds till fragrant and little brown. .Set aside in bowl. I the same pan dry roast onions till they turn are soften.
 
In blender, grind together the onions, roasted spices, ginger, garlic, salt, turmeric powder, red chili powder to  a very fine paste.
 
Heat oil in a pan/kadai/wok, and fry the eggplants till they are soft. Remove and set aside. In same pan, add the spice paste, mix gently and cook till the oil starts to separate. Now add the tamarind water and mix well. Add the fried eggplants, salt to taste. Cover and cook over low heat till the eggplants are fully cooked an the gravy is thick.
 
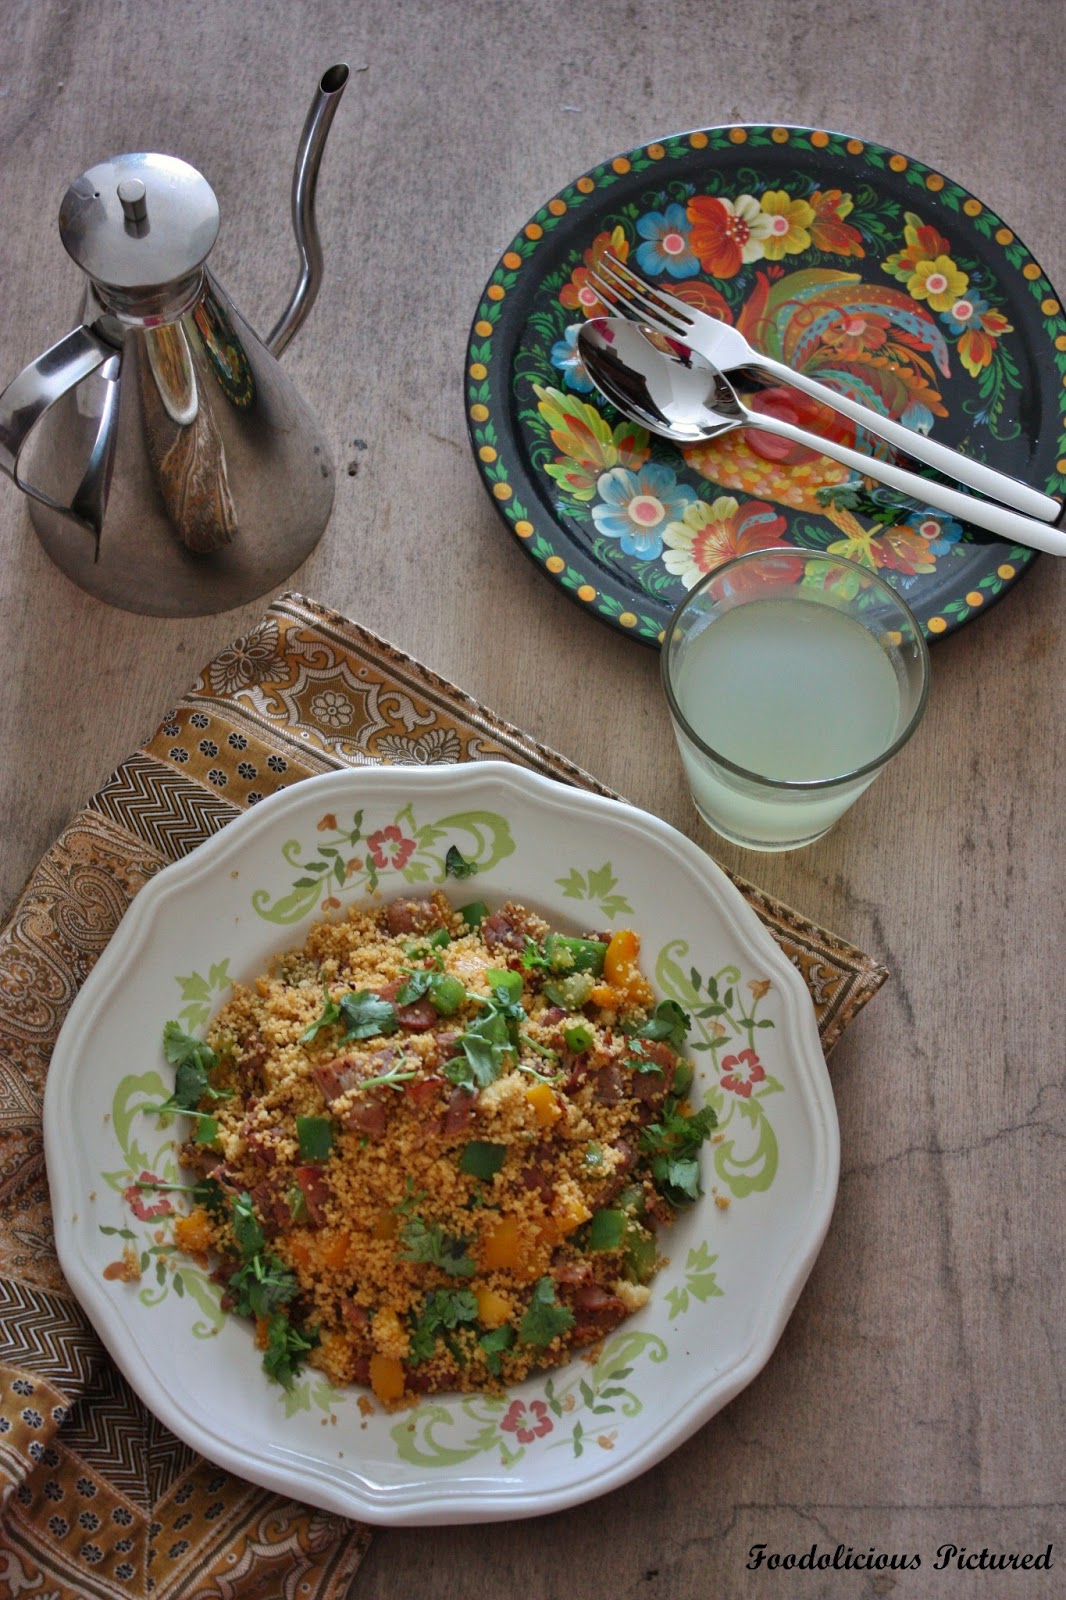
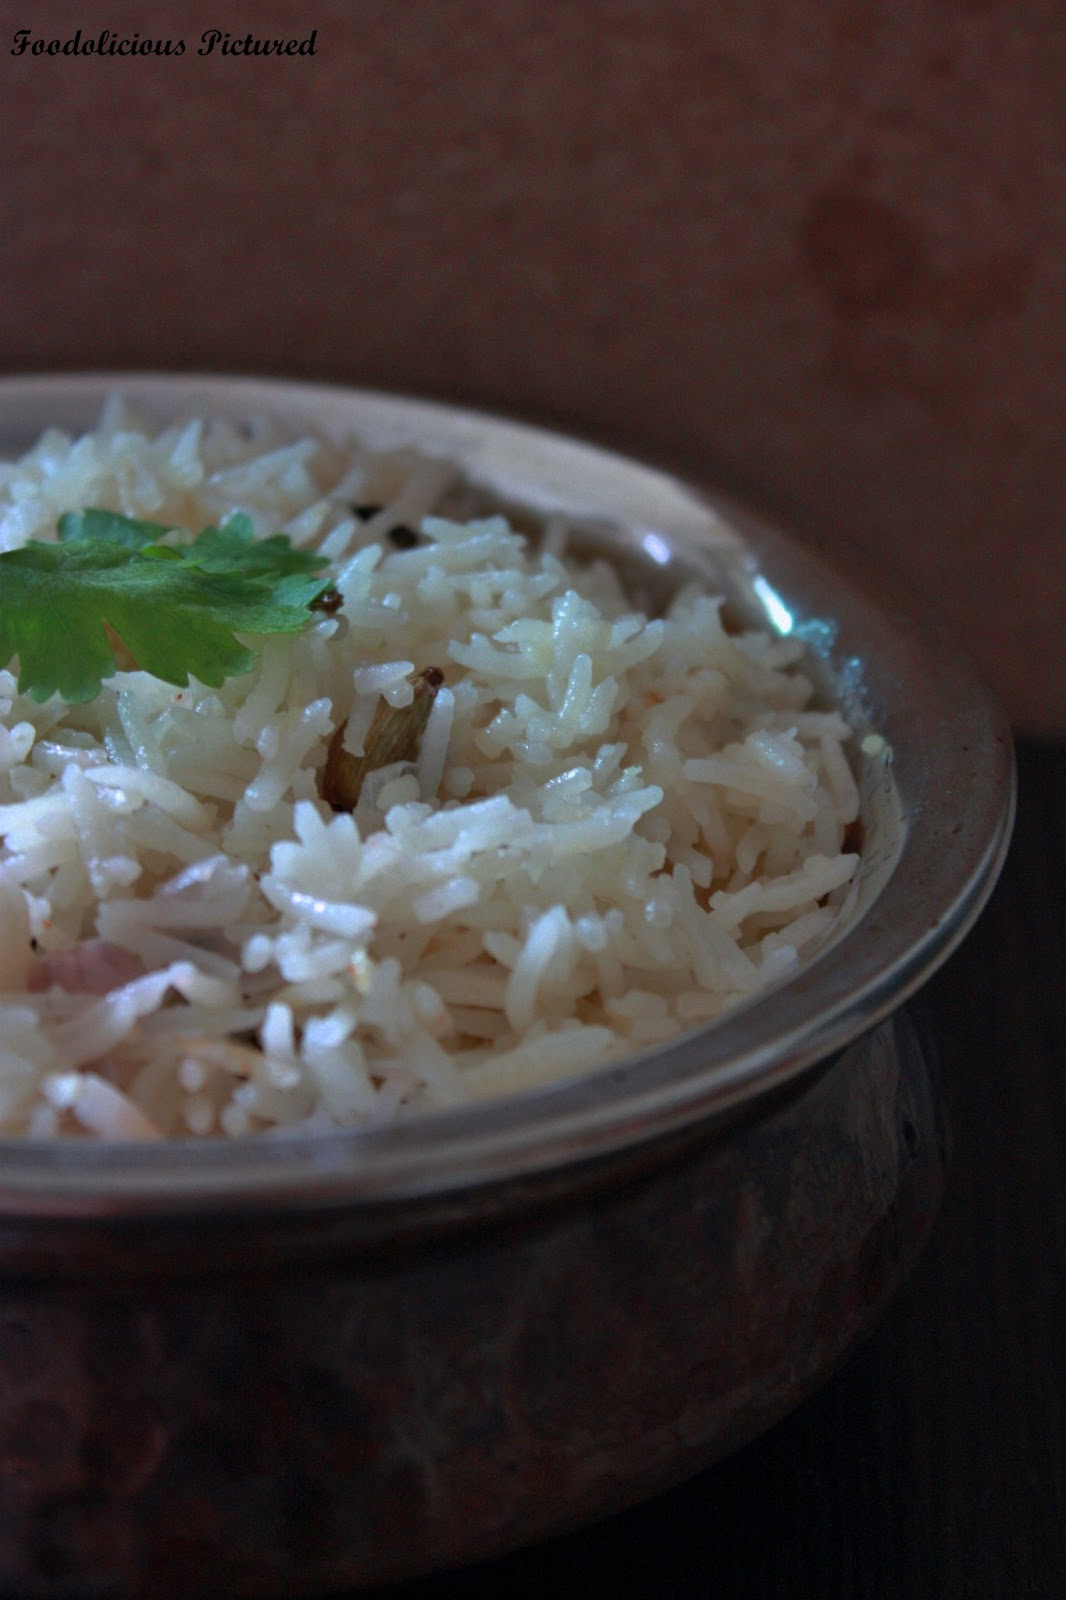
Turn off the heat. Garnish with coriander leaves Serve hot with flavored or just plain rice.


Coconut milk rice

This is one of my favorite rice dishes. It’s actually been one since a child. I first had this at my then neighbor’s house in Bangalore.  Ever since I have fallen in love with this rice dish and mom or I have never been able recreate that taste like the Aunt in the neighbor did. Yet here’s something very close though.


I don’t know for some reason I have never made this ever since I started to blog. Well better late than never; here I am with rice dish that is so moist, delicious, full of wonderful flavors of the whole spices and moreish!

You will need –

  • Basmati rice – 1 cup
  • Coconut milk – 1 cup (I used the store brought)
  • Water – 1 cups
  • Onion – 1 small, thinly sliced
  • Garlic paste – 1 teaspoon
  • Ginger paste – 1 teaspoon
  • Green Chili – 1 slit length wise
  • Fennel seeds – ½ teaspoon
  • Cardamom – 2
  • Cinnamon – 1 small stick
  • Clove – 1
  • Bay leaf – 1
  • Ghee/ clarified butter – 1 tablespoon or as required
 
How to –
 
Wash the rice and soak for 15 minutes. 
Heat the pan and add the Ghee. Once the ghee is heated, tip in the spices (Fennel seeds, cardamom, cinnamon, clove and bay leaf) and fry till the raw spell is gone.

Add the onions, chili and ginger-garlic paste. Fry till the onion turns pink and the raw smell of ginger-garlic is gone. Please make sure not to burn them as this will change the color of the rice when you cook. Once done add the rice in and fry till the rice doesn’t stick to each other ensuring the rice not turning brown.
Add the coconut milk, water and salt to taste. Cover and cook till done.


Note – once the rice is cooked. Keep it uncovered for a few minutes before you use a fork to fluff up the rice slowly.


Chicken tikka masala

The most popular dish around the world and much written of this dish over the years be its origin or authenticity, hence I am not getting into that.  Truly I feel that this is a dish that has each chef’s influence along the way. Every time I have tried this dish it’s different. Even as I was browsing to look for recipe the list was enormous.  So that also goes to show the popularity of this dish.  It’s also Britain’s true national dish. Accordingly to a survey conducted in UK as per wiki, it is the most popular restaurant dish.
 
Well not talking any further, let’s get to the recipe. Adapted from the cookbook Food lovers “CURRY”. here’s my version of the Chicken tikka masala


You need – 

  • Chicken – 1 kilo, cut into medium pieces
  • Tomato paste – 1 tablespoon
  • Cumin seeds – 1/2 teaspoon
  • Salt to taste
  • Butter – 2 teaspoons
  • For the Marinade –
  • Ginger-garlic paste – 1 tablespoon
  • Yogurt – 1 1/2 cups ( I used greek style) beaten
  • Vegetable oil – 2 tablespoons
  • Cumin powder – 1/2 teaspoon
  • Chili powder – 1 teaspoon (I used Kashmiri chili powder)
  • Paprika – 2 tablespoons
  • Black pepper powder – 1/2 teaspoon
How to –
 
Clean and wash the chicken. Drain the water completely off.
 
In shallow dish mix together all ingredients under marinade Mix the chicken in and coat the chicken pieces generously with the marinade. Cover the dish with a foil. Marinate the chicken in the refrigerator for at least 8 hours or over night.

Preheat the oven 180 c. Line a baking tray with a foil and place the chicken piece on top and cook for about 35-40 minutes. Reserve the marinade. Halfway through brush the chicken pieces with the marinade and continue to cook. Remove and set aside.


Heat a pan add the butter and once heated through tip in the cumin seeds. Allow to crackle. Now add the tomato paste and cook till the oil start to separate. Add the reserved marinade, salt and cook for a 1-2 minutes. Add the chicken pieces and continue to cook for 5-6 minutes. You may add a little water to adjust the gravy. Turn off the heat.


Garnish with fresh coriander leaves and serve hot with Indian flat bread, flavored rice or just plain basmati rice. I made coconut milk rice to go with this (will post the recipe soon).


With coconut milk rice…


Eggless chocolate-cherry Cake


It’s been and is a busy week for me. To many things both at work and home.  But a quick drop to share the recipe of the chocolate cherry cake I baked last weekend and 3/4 of the cake got gobbled the same day by the hubby and daughter. With the Man being a complete chocolate lover and the little one, call her a cherry-berry girl.

Its tough to make anything of the berries with my little one around as loves them fresh and never leaves me in peace till I give a big share (then with hardly  anything left for the recipe I decide to do it another day. In many cases that never happens!!). So the last weekend she had a play-date with her friends and daddy decided to go along. And that I had a whole day all to myself. Spent couple of hours at the library and then got back and baked the cake by the time the little one got back home. She was happy she had some fresh cherries and more happy to find them in her favorite cake too.

Over to the recipe , this is egg less moist cake with the cherries to bite into. It also doesn’t use butter, instead its Vegetable oil. 

You need –
Chocolate Cherry Cake
All-purpose flour – 1 1/2 cups
Caster sugar – 3/4 cup
cocoa powder – 1/3 cup
baking soda – 1 teaspoon
salt – 1/2 teaspoon
vanilla extract – 1 teaspoon
lemon juice – 2 teaspoons
vegetable oil – 1/3 cup
water  – 1 cup
Cherries- pitted and halved, 2 cups


How to –

Preheat oven to 180C. Grease a 8-inch round cake pan.

In a mixing bowl, sift  together the flour,cocoa, baking soda and salt. Add sugar and mix.
Add the vanilla extract, Lemon juice, oil, and water. Using a spatula, mix the batter until smooth. Stir in the cherries.


Pour batter into the prepared pan and bake for 40 -45 minutes, or until a toothpick inserted into the center comes out clean.

Allow to cool to room temperature.