Princess cake

Times flying and my little angle turned 5 today. Seems like 5 years just went by like a breeze. Yet loaded with wonderful memories.

This year birthday has not been like the past. She has her ideas, her plans and her birthday shopping list. Signs of growing up! This birthday she wanted her favorite princess cake. She didn’t know I was going to make one for her. I decided to surprise her. I locked myself in the room saying I was in a call and asked her to stay with her daddy. At stroke of 12, we wished her and I showed her the cake. She couldn’t believe what she was seeing. Her expressions were priceless.

This is simple butter cake with butter cream-marshmallow filling and fondant icing. Well I am not a fan of fondant icing especially for kids but then to decorate such cakes they are best. Once the cake is cut I scrape some off before feeding my daughter or kids.

This is where I got help with making the princess – http://www.youtube.com/watch?v=sfiOcsCe4Mo and click her for the butter cream-marshmallow filling. I also used miniature marshmallows in the filling.


Cake recipe –
- Butter – 125 grams, softened
- Vanilla essence – 1 teaspoon
- Caster sugar – ¾ cup
- Eggs – 2, at room temperature
- Self-rising flour – 1 ½ cups
- Milk – ½ cup
How to –
Pre-heat the over to 160c. Grease the cake pan and set aside.
Beat butter, vanilla essence and sugar in bowl with electric beater until light and fluffy. Beat the eggs in one at a time till well combined.

Stir in the flour and milk in two batches and mix well till everything is well combined. Pour the mixture into the prepared pans and bake till done or when a tooth pick is inserted in the middle, comes out clean.
Cool on a wire rack completely before decorating the cake.
Note – make sure all the ingredients are at room temperature to start

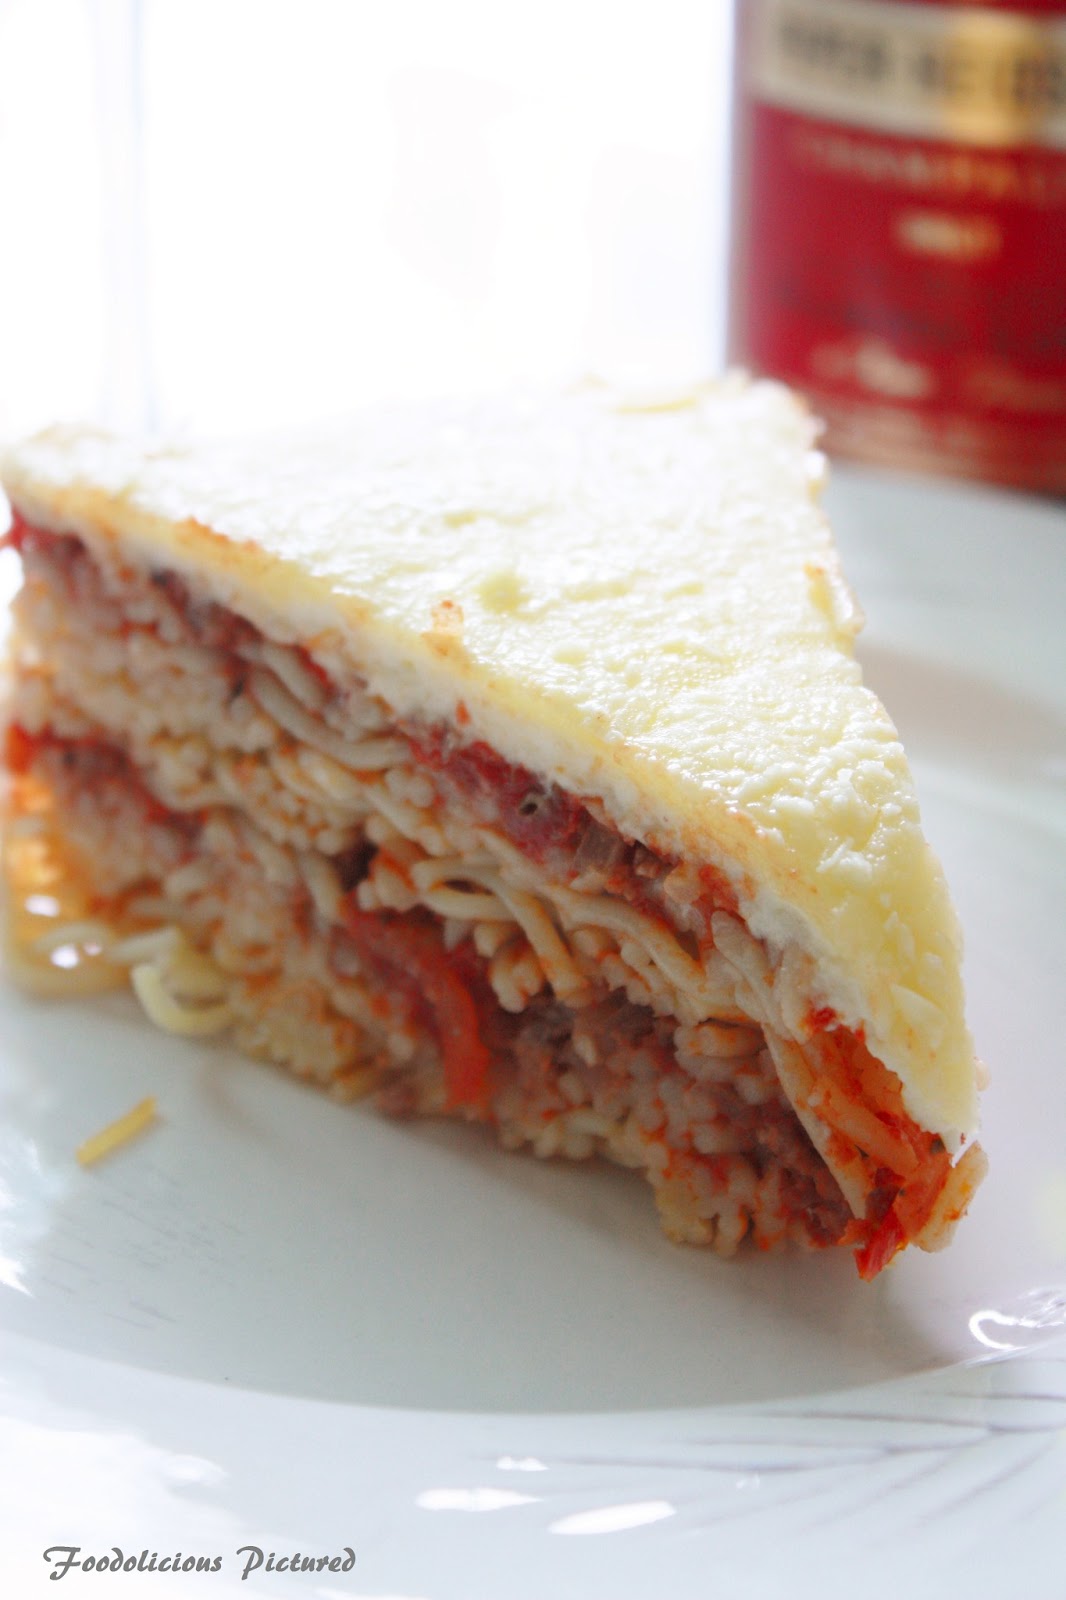
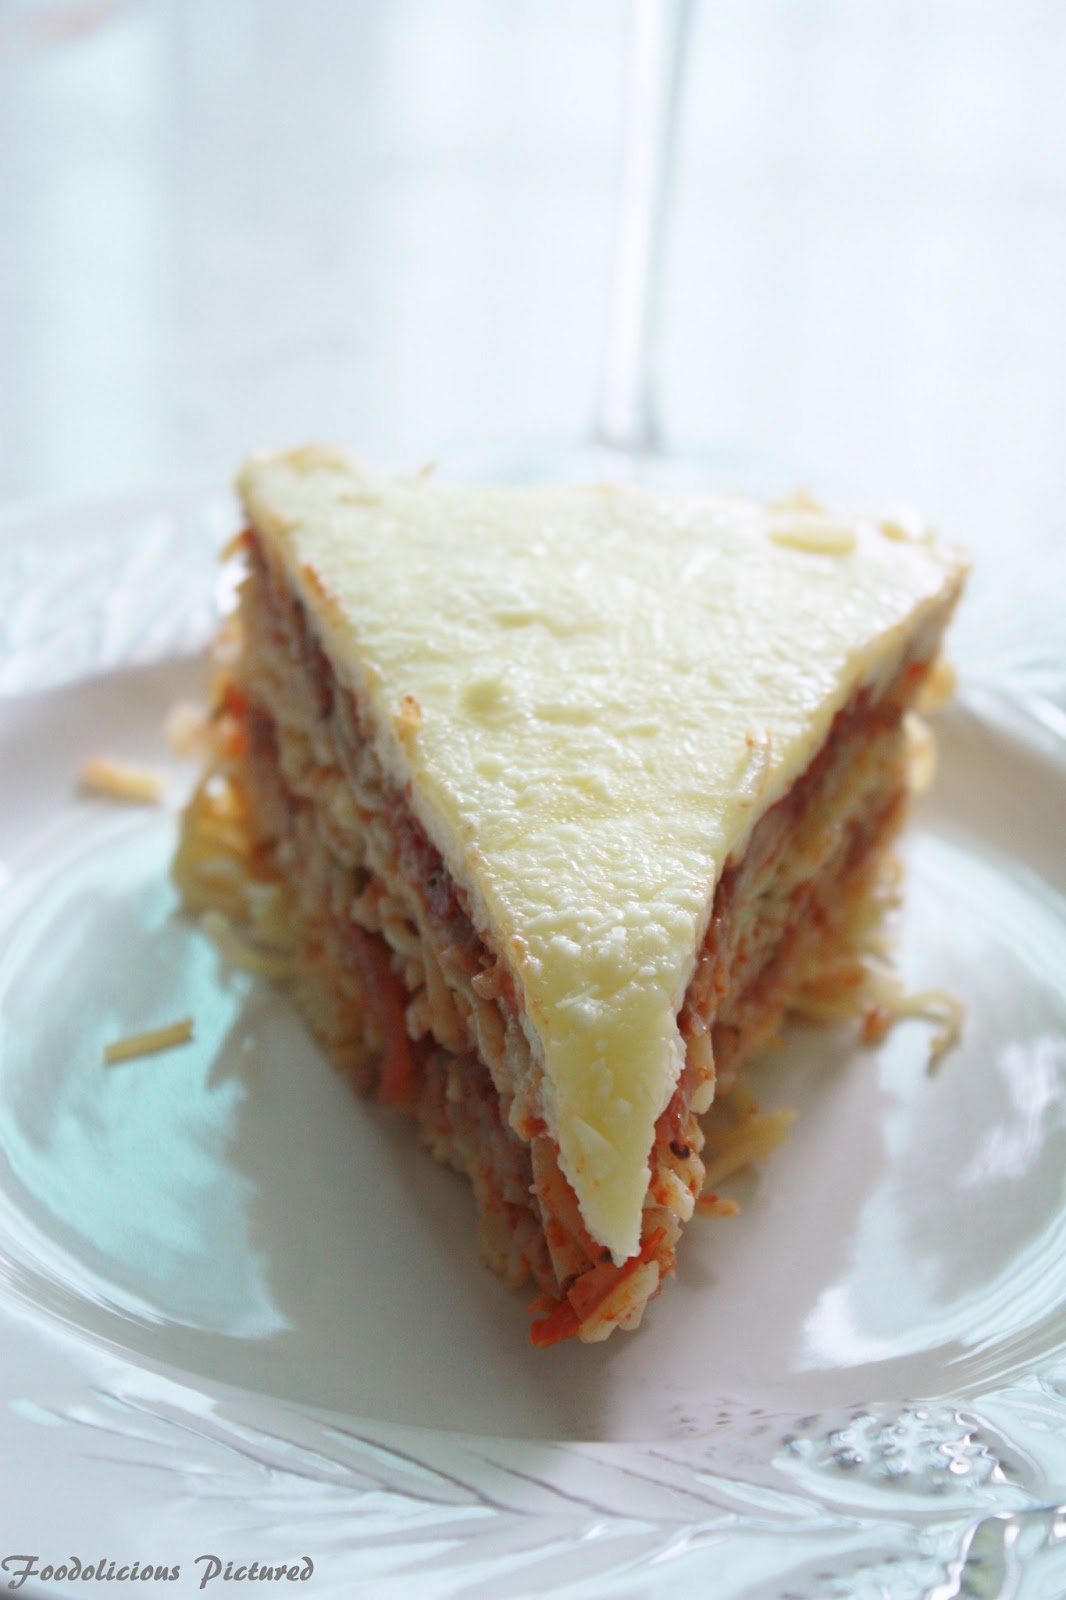
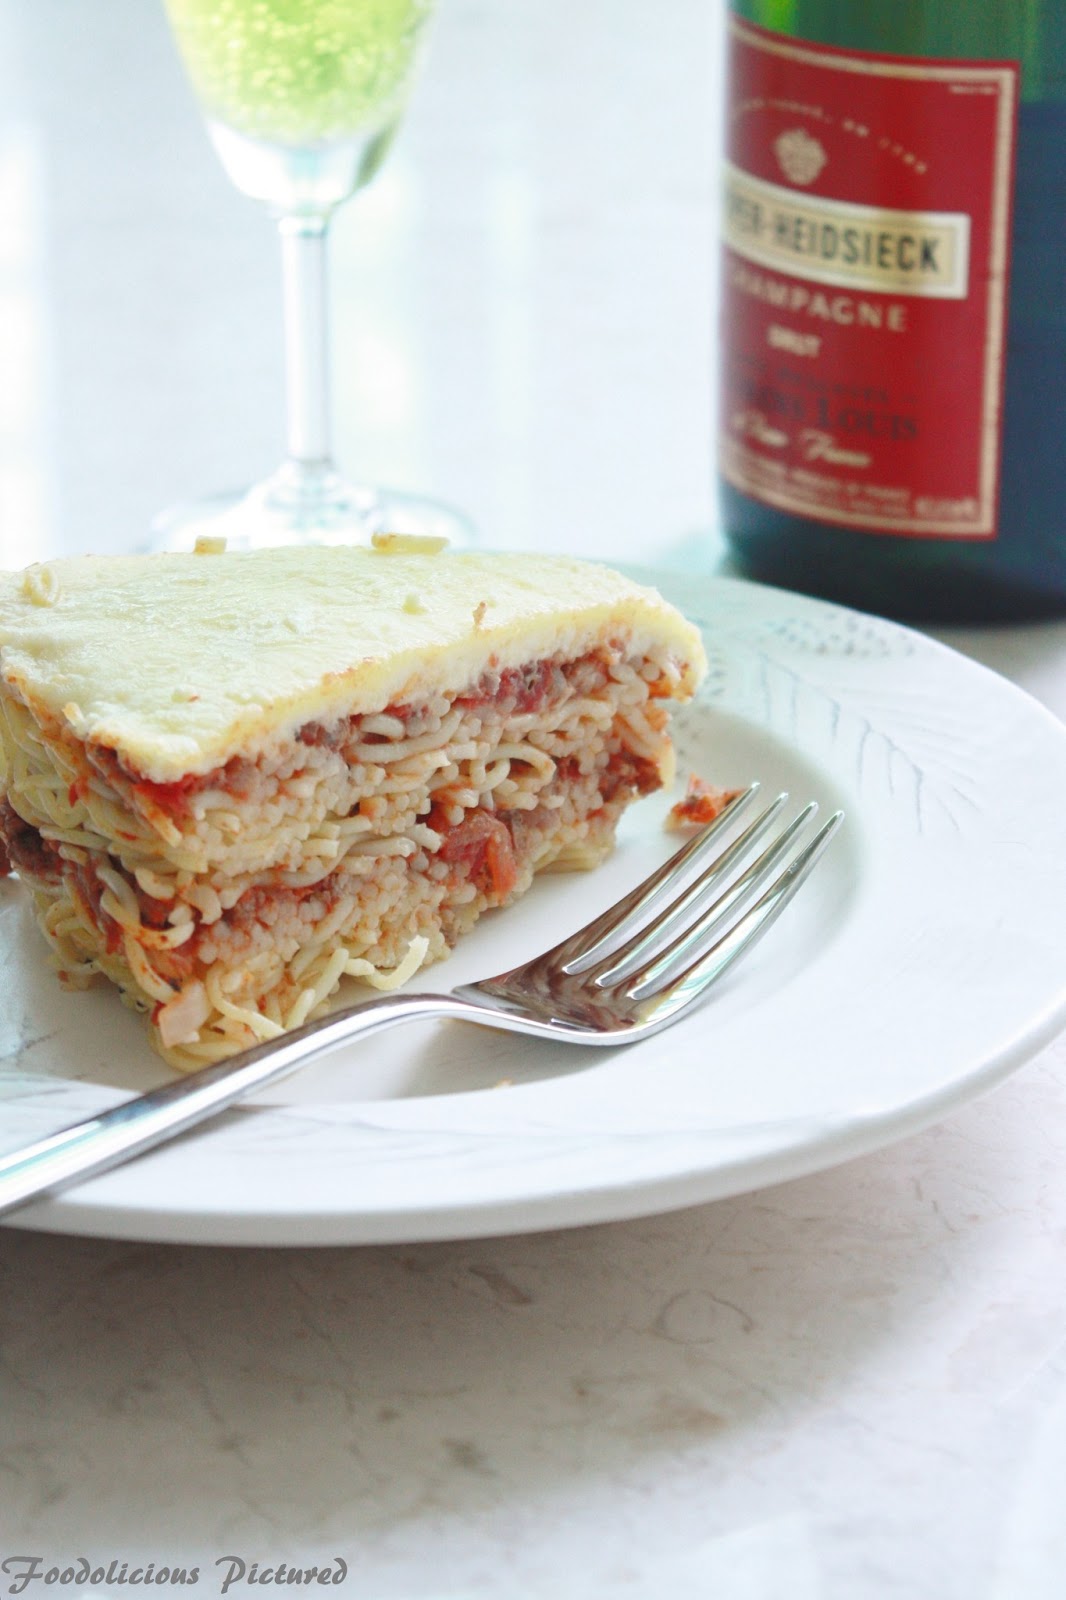
Beef vermicelli cake

This is one of the cake I cut for my birthday the other day. Sure was a treat, as we at home love Italian. With that gooey cheese on top and the meaty inside, this is nothing less I would want on a special day. Happy day! GIORNO FELICE!


You need –
- Vermicelli – 200 grams
- Grated parmesan cheese – ½ cup
- Grated mozzarella cheese – ½ cup

To make the meat sauce –
- Onion – 1, finely chopped
- Garlic – 1 clove, finely chopped
- Minced/ground beef – 250 grams
- Canned chopped tomatoes – 400 grams
- Ground oregano – ¼ teaspoon
- Dried basil – ¼ teaspoon
- Red wine – 1.5 tablespoon
- Olive oil – 1 tablespoon
- Salt and pepper to taste


To make the white sauce
- Salted butter – 50 grams
- All-purpose flour – ¼ cup
- Milk – 1 cup
How to –
Pre-heat the oven to 180 C. Grease a round 8 inch spring form cake tin.
Cook the pasta in rapidly boiling salted water till al dente. Drain well and set aside.

Heat oil in heavy bottom pan, add the onion, garlic and cook till tender. Add the minced beef. With a wooden spoon break up the beef and cook till brown. Add the tomato, wine, basil and oregano. Season with salt and pepper. Mix well. Reduce the heat and cook for 15- 20 minutes. Set aside.
To make the white sauce, heat a sauce pan and melt the butter. Stir in the flour and cook till pale. Remove from the heat and gradually stir in the milk. Return to the heat and stir constantly until the sauce boils and thickens. Reduce the heat and simmer for a minutes. Turn off the heat.

To assemble –

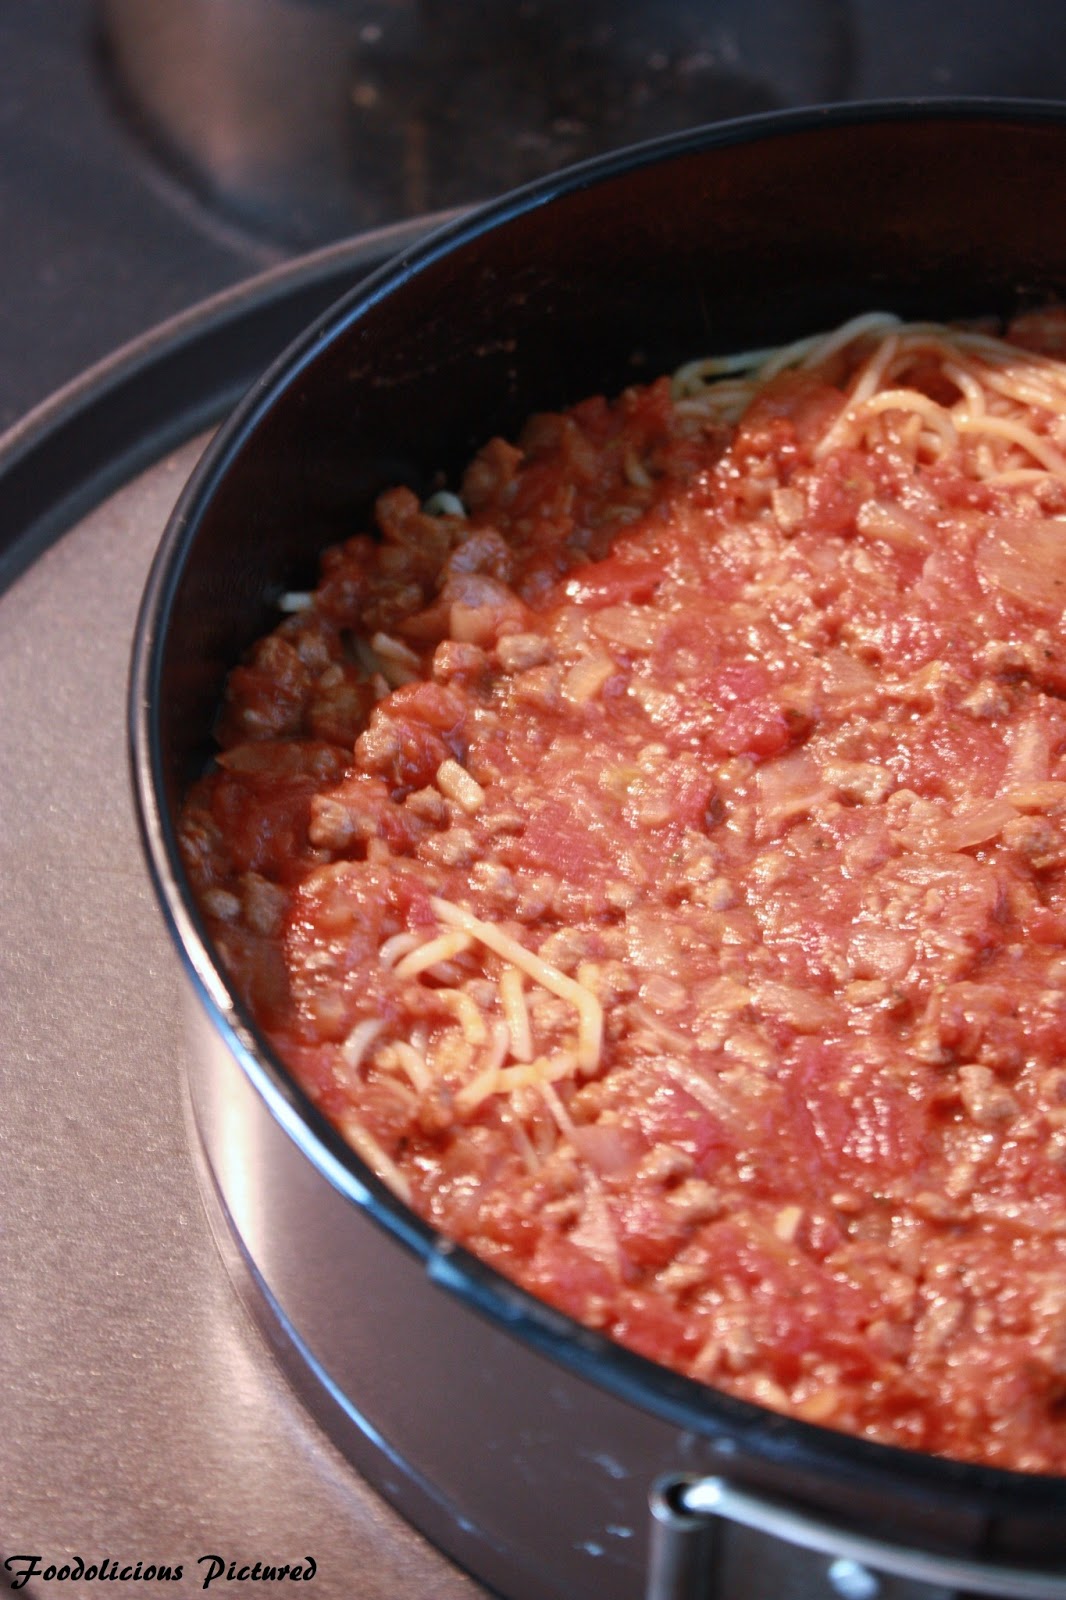

Spread half of the vermicelli into the cake tin as the base. Layer half of the meat sauce over to form the second layer. Cover with the remaining pasta and press down with your palm of your hand. Top the remaining meat sauce, pour the while sauce and sprinkle the cheese. Into the oven and cook for 15 minutes. Let the cake rest for 10 minutes before cutting into wedges to serve.
BWW #83


Sunset through my lens…
Hello… not here to share a recipe but want to share the pictures of the sunset that I clicked today at the Changi beach.


It was truly mesmerizing watching the sun go down in all its glory to shine on another land. My friends there are you watching him rise..?! While I lay my worries to rest and await for a new rise, a new beginning, a new hope & a new tomorrow…


Good night from Singapore!
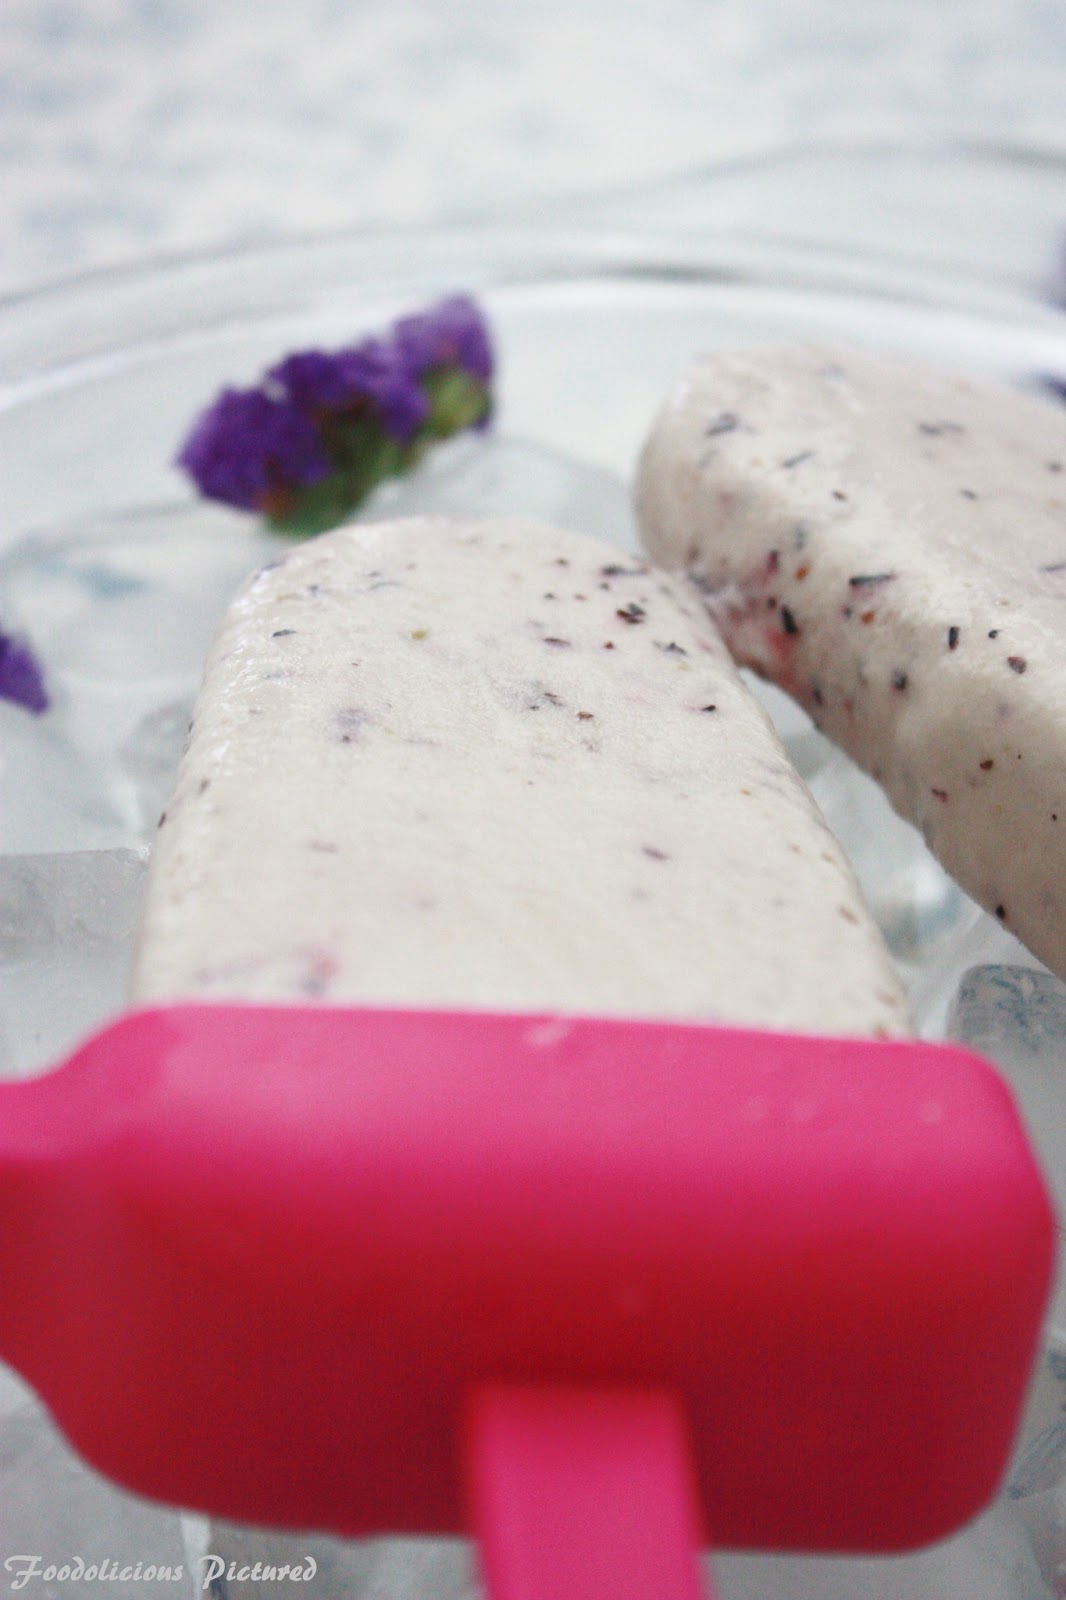
Blueberry and yogurt Popsicle – Celebrating mother’s day and my 150th post..:-)

My daughter and I seem to have similar tastes in life, with food particularly. So when I decided to make popsicles; we were equally excited. Well the only thing is she was sitting by the clock to constantly check the time, so the popsicles would be ready. It wasn’t easy to patiently answer her only Q –“is it time for the popsicle?!!”, whole of last evening and through this morning. Its maddening at times but yet I have learned to be polite to my best and the person who has taken by complete surprise of this change in me is obviously my Mom. Well MOM’s the word 🙂


This morning I come-up with an idea but didn’t realize handing Saana a popsicle and asking her to do a photo-shoot for my post wasn’t as easy as I thought.. It ended with a statement “MOM! You are not my friend anymore” 🙂

Moving to the recipe, I like this healthy Popsicle Greek yogurt and berries is sure a thing to boast off. So go ahead and beat the heat with his healthy and delicious pops. It was bright and wonderful this morning, that I couldn’t stop clicking pictures hence little more pictures 🙂

You need –
- Greek yogurt – 1 ½ cups
- Blueberries – 150 grams
- Sugar – ¼ cup or as per your taste
- Vanilla essence – ½ teaspoon
How to –
In a blender, blend the sugar and blueberries till smooth. In a blow beat the yogurt and vanilla essence.
Add the blueberry mixture and mix well till well combined. Pour into the molds and freeze for at least 5 hours or till set.

Add the blueberry mixture and mix well till well combined. Pour into the molds and freeze for at least 5 hours or till set.
To un-mold, run the molds in warm water for a few seconds while gently pulling the popsicle stick.

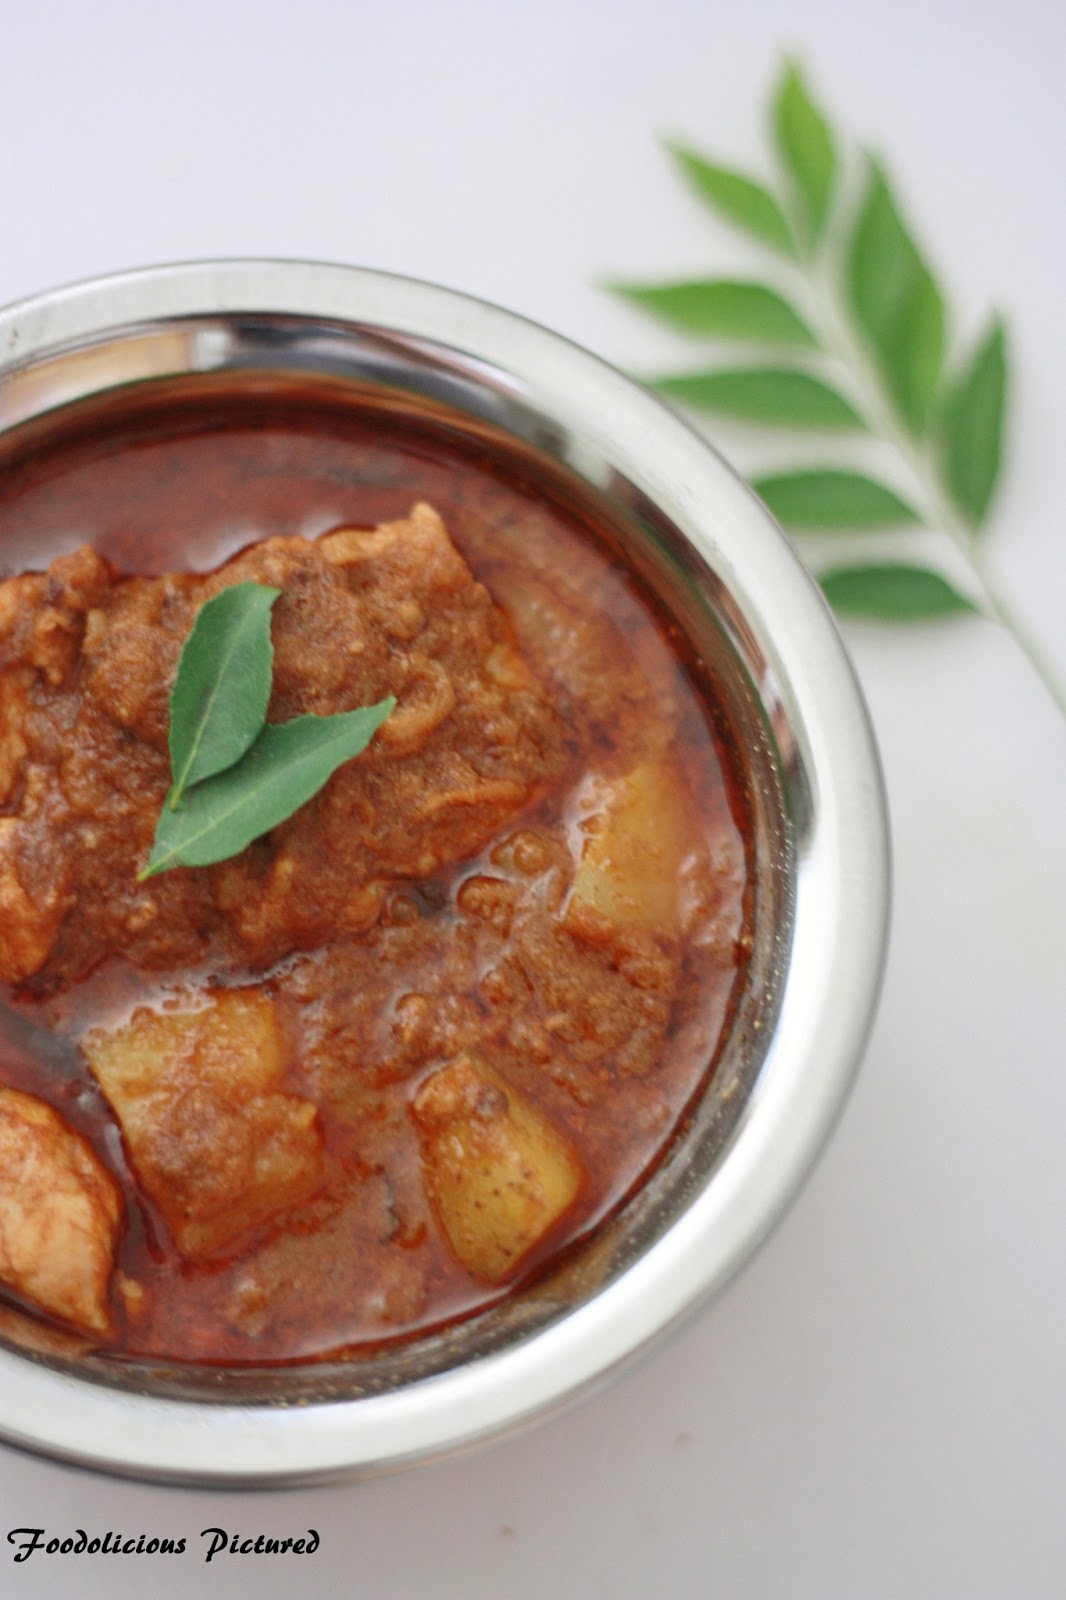
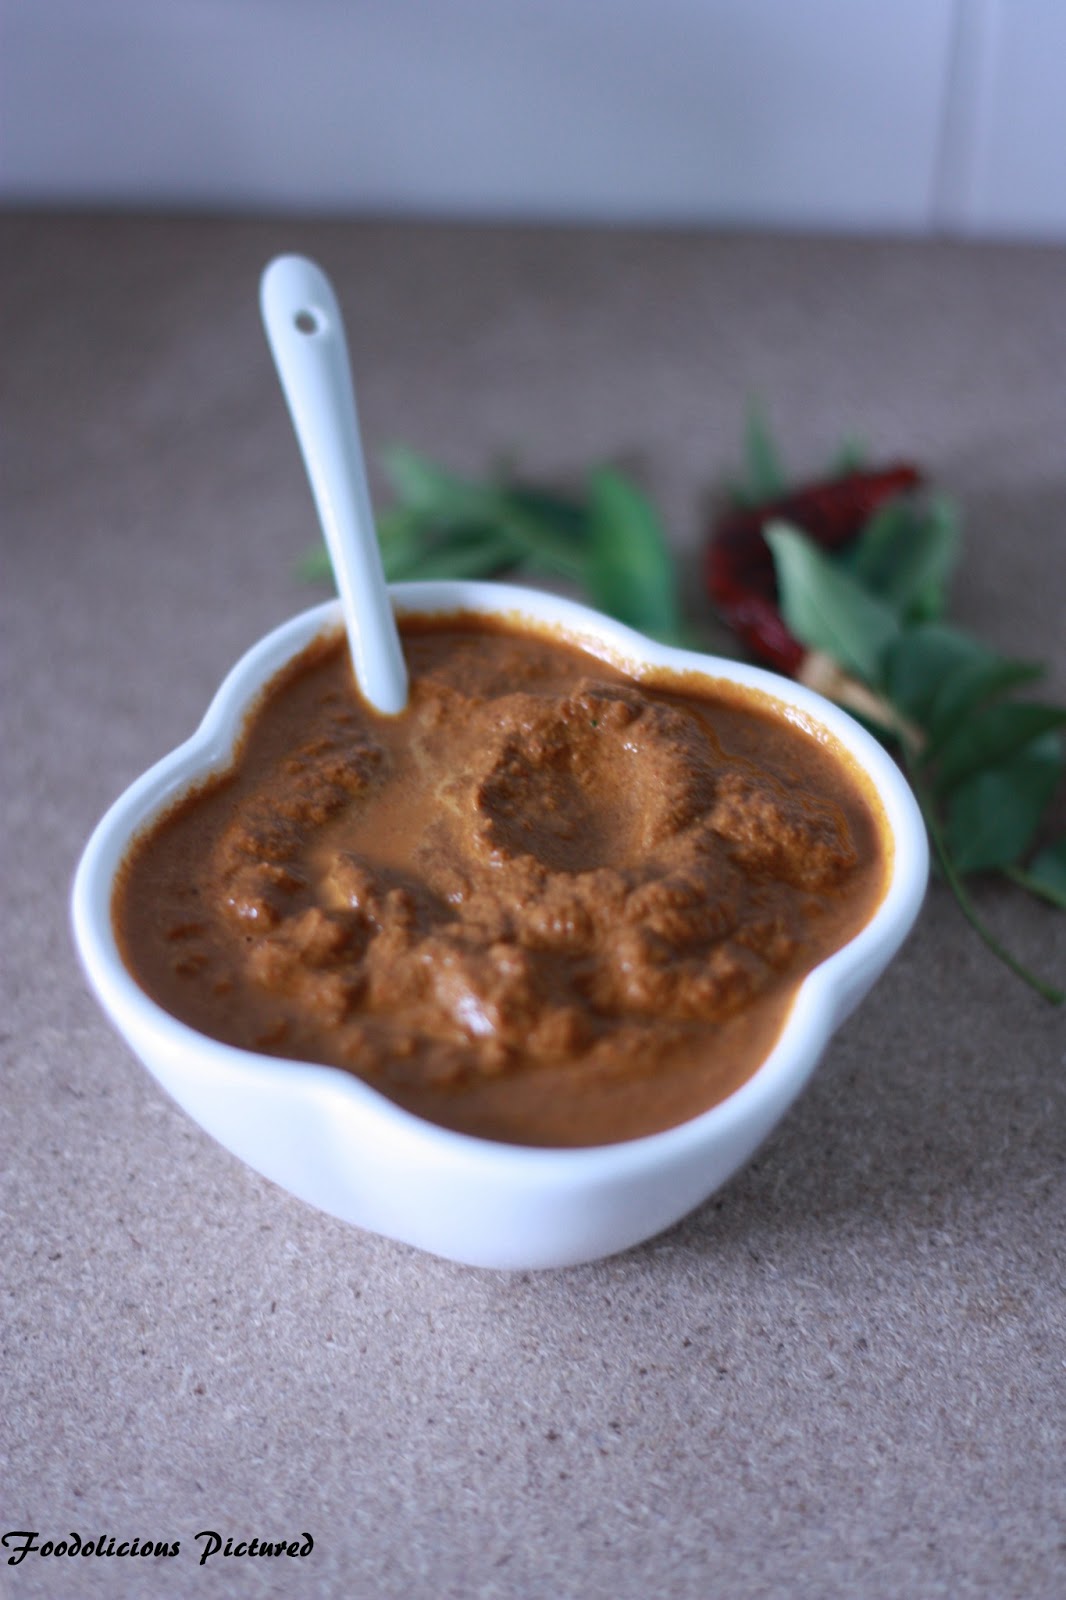
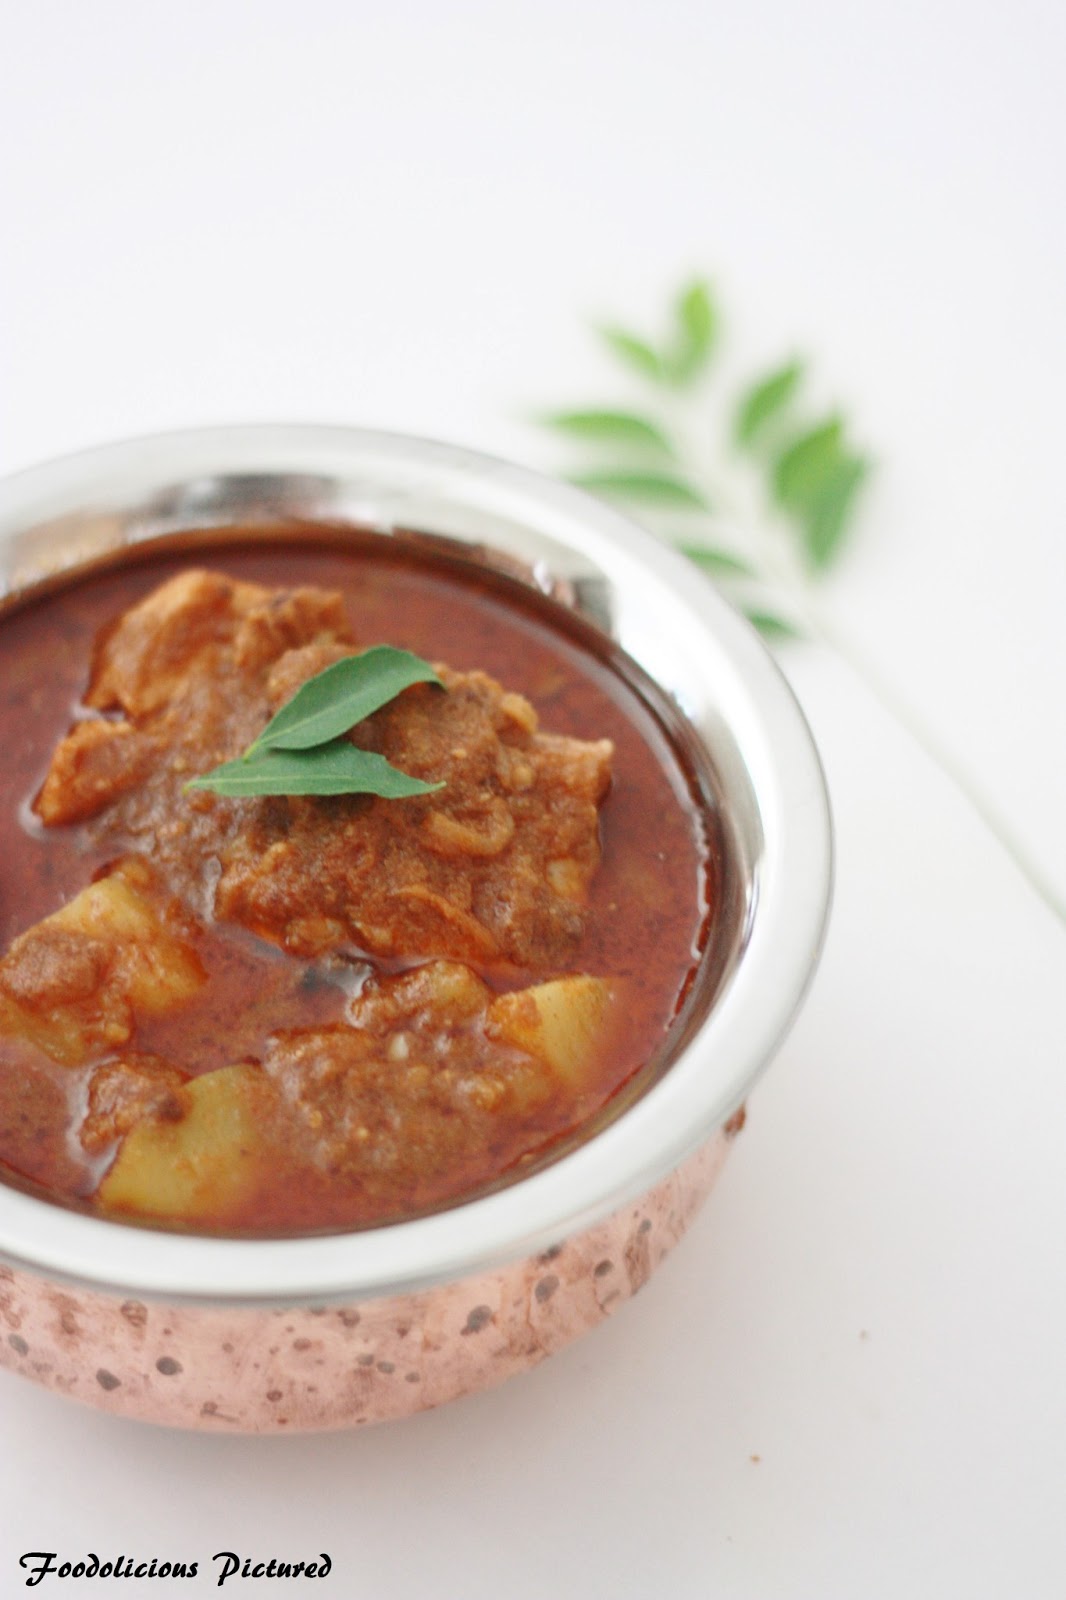
Varutharacha kozhi curry / kerala style chicken curry
Oh how could I ??!! yeah I forgot to post this which I made couple of weeks back. Never the less, better late than never.
This is a traditional Kerala chicken curry. Cooked in roasted coconut paste with spices. But I am a bit hesitant to make this curry every often for the very reason that no matter how much you reduce the oil yet the roasted coconut somehow oozes out oil as the curry cooks up. But then that’s the beauty of the curry I know and don’t you agree?


![[cook%2520like%2520mom.png]](https://i0.wp.com/lh5.ggpht.com/-dP279dcSUsw/UYF31XnSFbI/AAAAAAAAPX8/qxtRv6YWzWY/s320/cook%252520like%252520mom.png)
This is a traditional Kerala chicken curry. Cooked in roasted coconut paste with spices. But I am a bit hesitant to make this curry every often for the very reason that no matter how much you reduce the oil yet the roasted coconut somehow oozes out oil as the curry cooks up. But then that’s the beauty of the curry I know and don’t you agree?

This is recipes is from my mom and somehow it doesn’t taste as much as hers does but I guess that’s how it is when every mom cooks. There is something special always. With mother’s day coming up I dedicate this post to my mom and MIL, the 2 wonderful women in my life.
 |
| Mom & Saana |
 |
| MIL & Saana |
Happy mother’s day to all my dear blogger friends and to your mommies 🙂
To make you need –
- Chicken – 500 grams, cut into medium- small pieces
- Grated coconut – ½ cup
- Whole coriander seeds – 1 ½ tablespoons
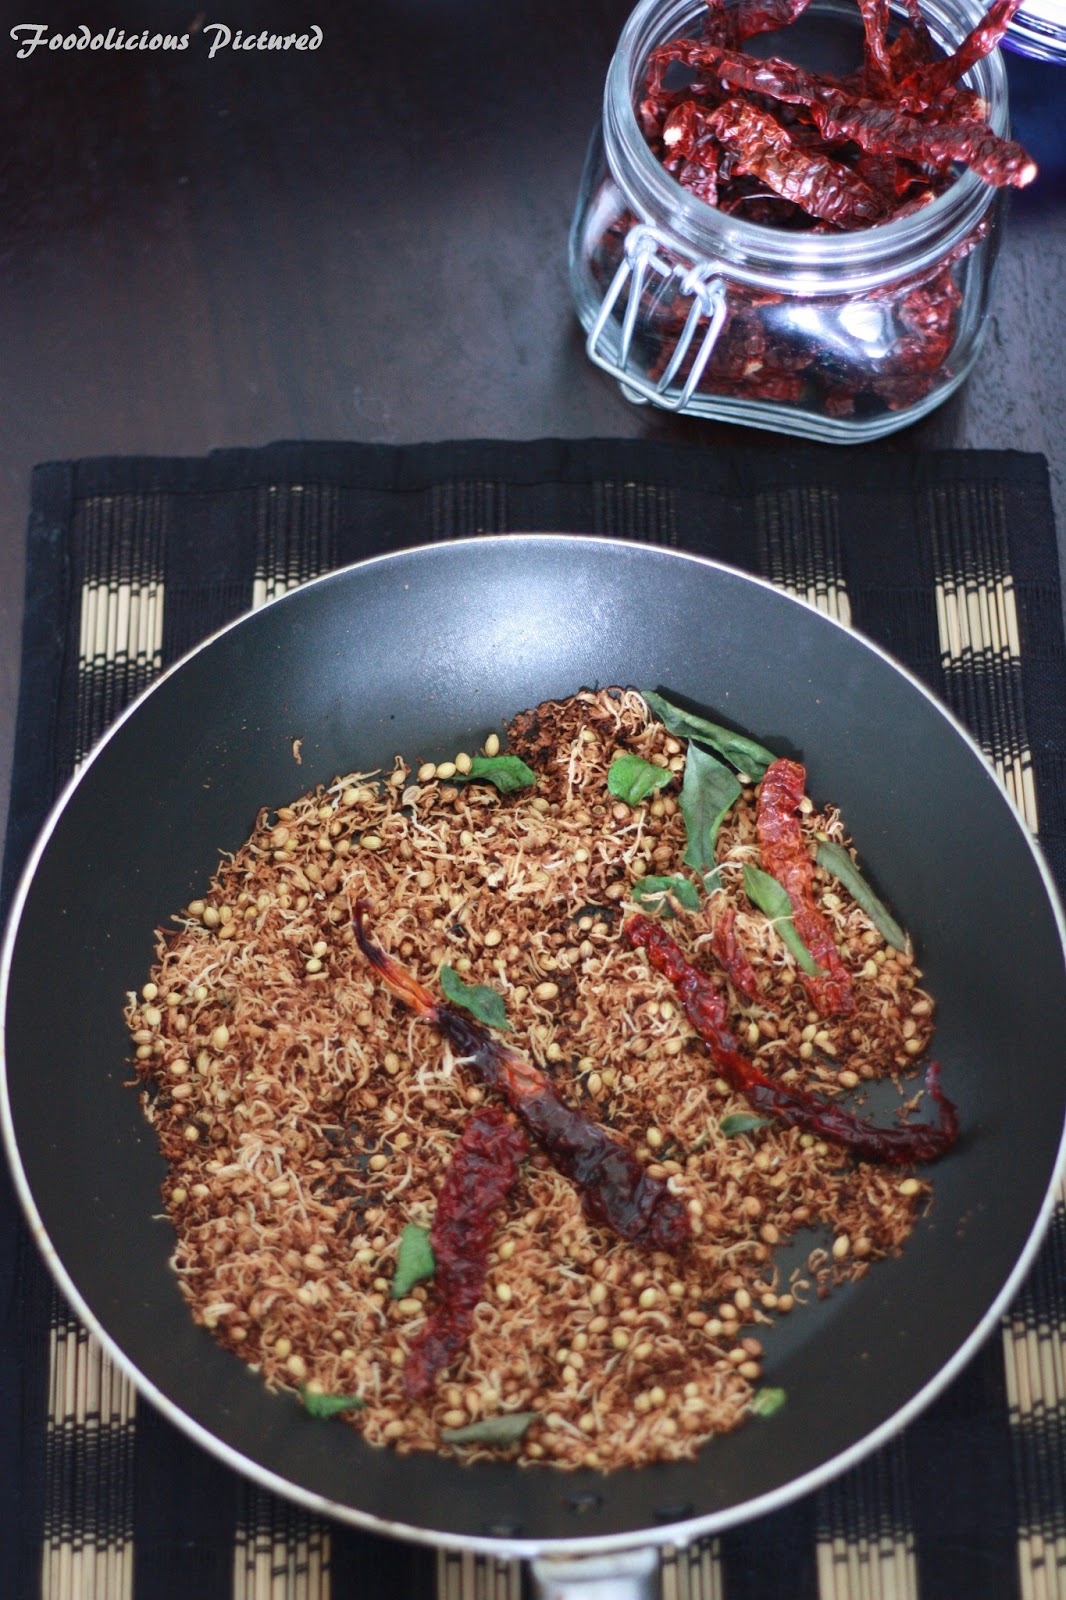
- Whole dried chilies – 4-5 or as per your palate.
- Whole black pepper – 1 teaspoon
- Curry leaves – 3 twigs
- Garam masala powder – ½ teaspoon
- Onion – 1 medium, thinly sliced
- Minced ginger and garlic – 1 teaspoon each
- Tomato – 1, sliced
- Potatoes – 2 medium, cut into cubes
- Coconut oil – 1 teaspoon
- Salt to taste
How to –
In frying pan, dry roast the grated coconut, coriander seeds, dried chilies black pepper, garam masala and 2 twig of curry leaves. Make sure the coconut turns to dark brown but do not burn. You need to make sure you are frequently stirring. Once done, put the mixture into a blender and blend till a smooth paste with water as required. Set aside.

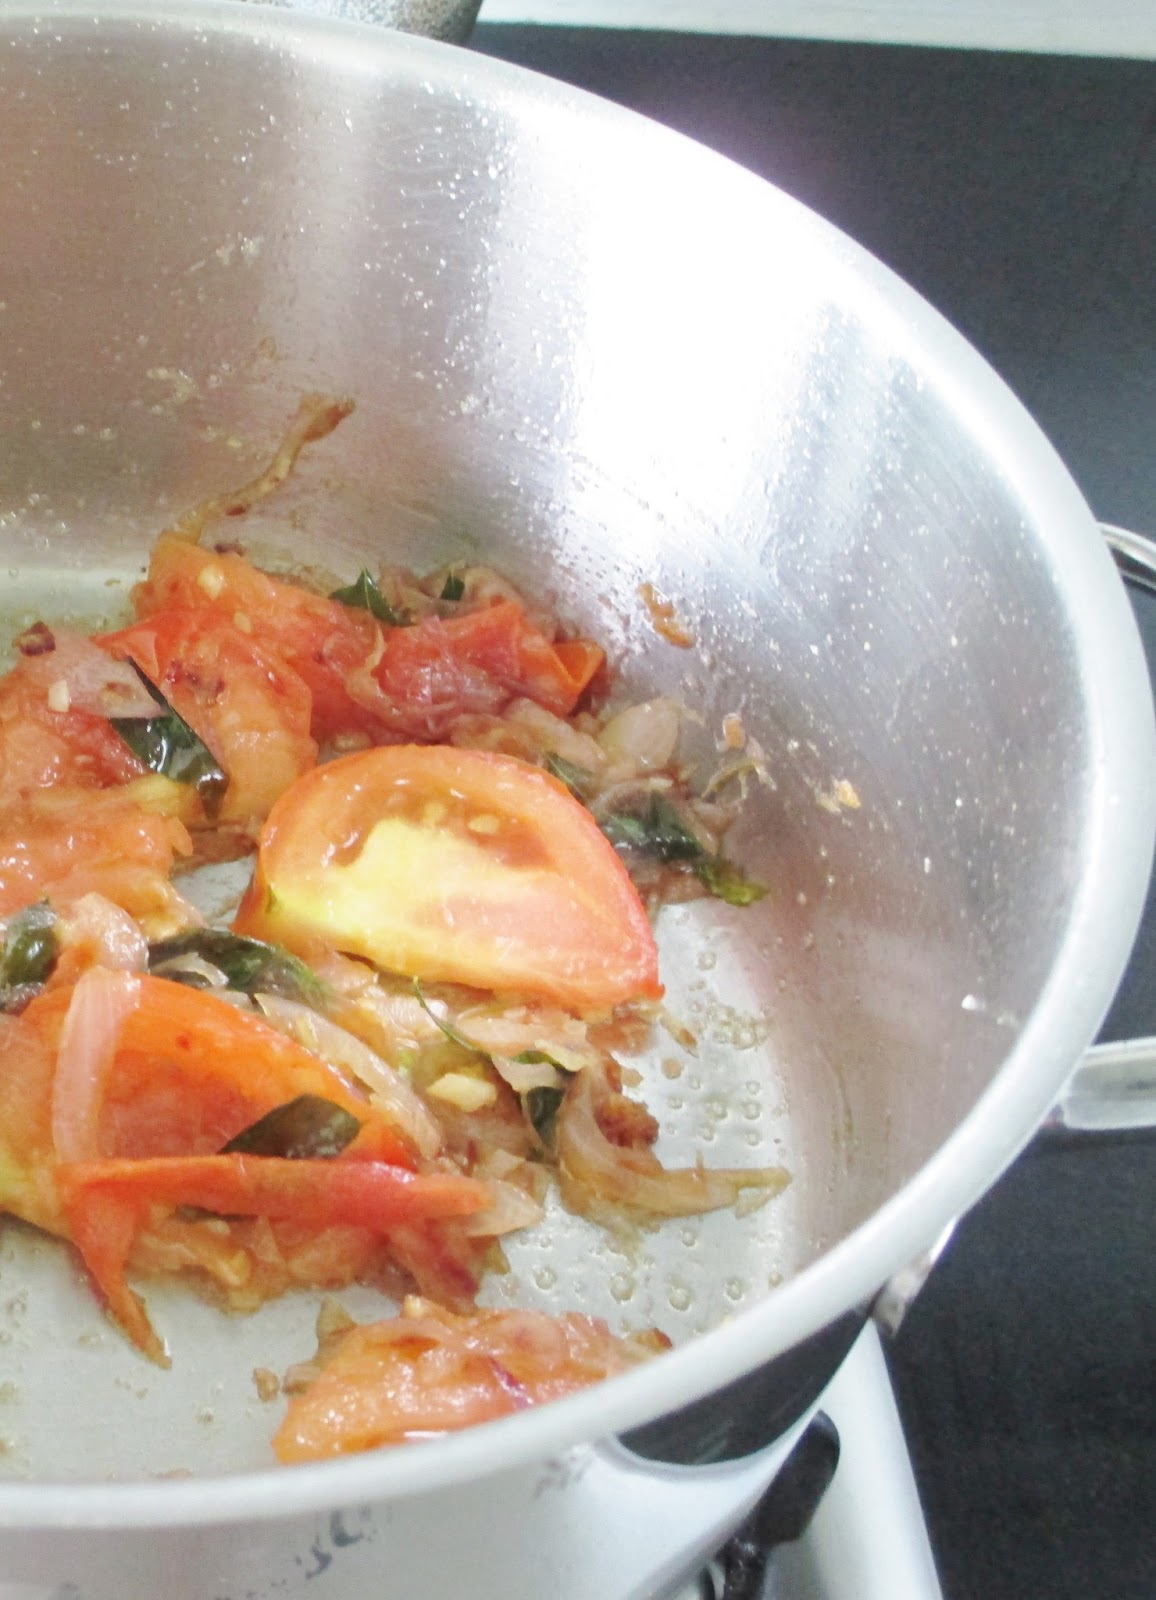
In heavy bottom pan heat the oil and onions, ginger, garlic, remaining curry leaves and fry till translucent. Add the tomato and cook till mushy. Add the coconut paste and cook briefly for a couple of minutes.
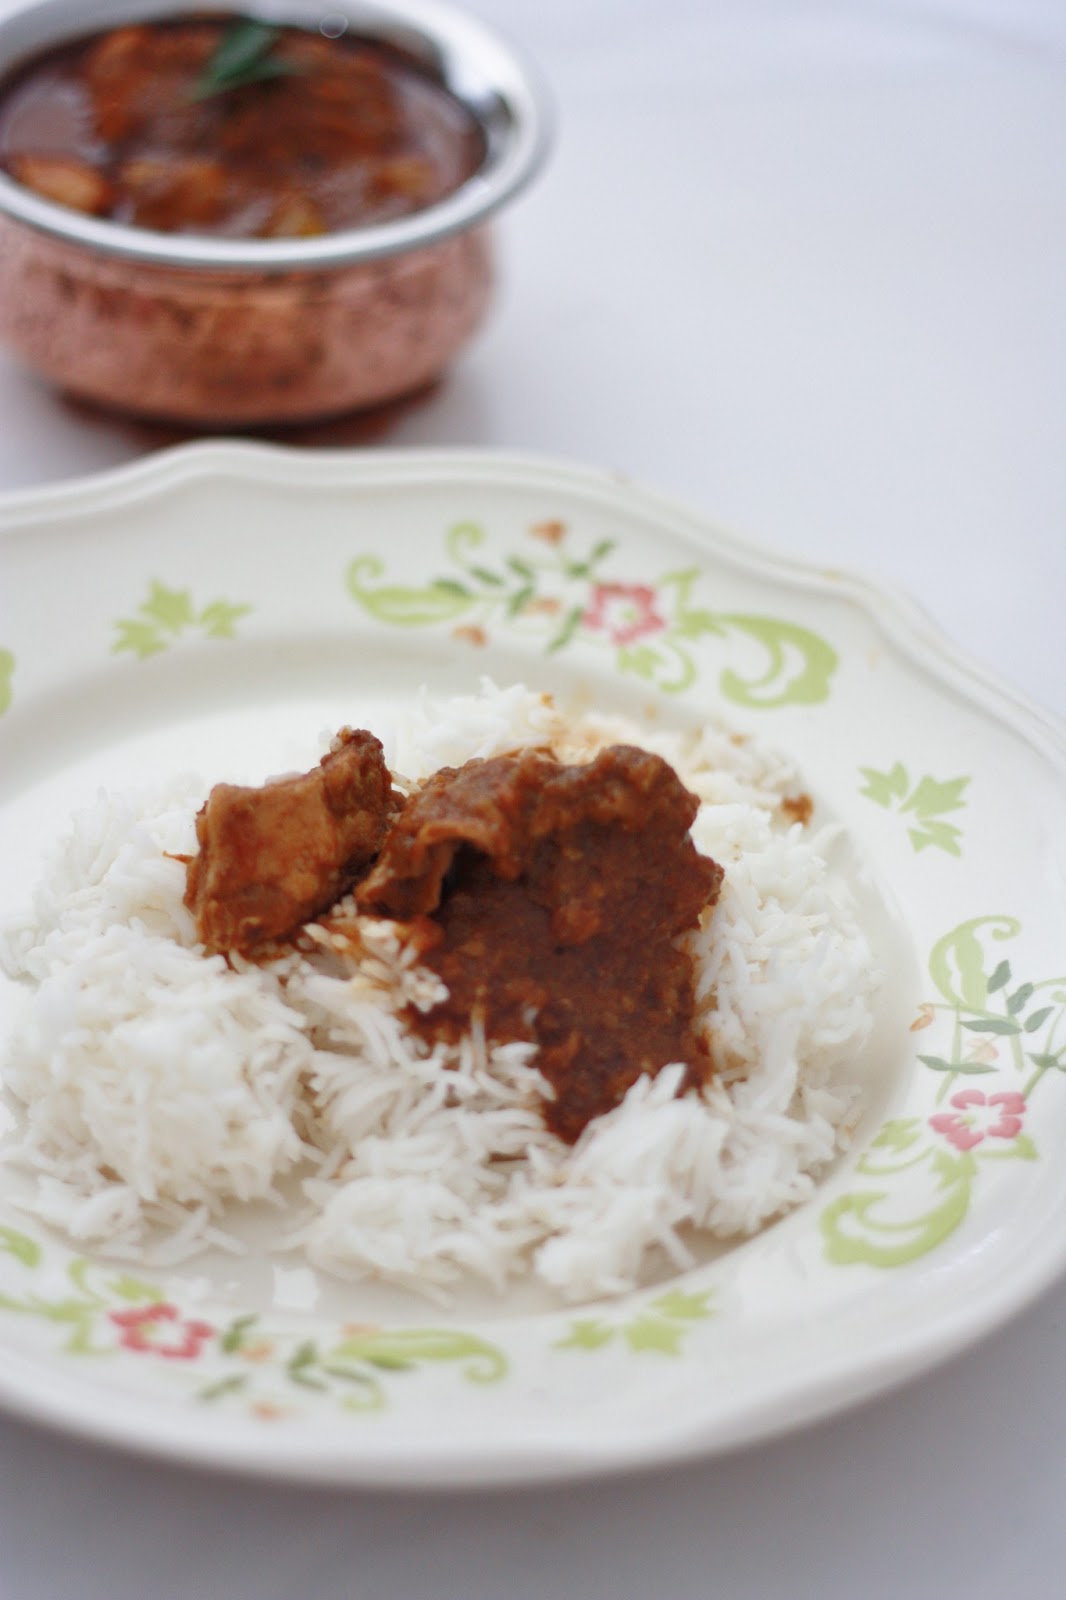

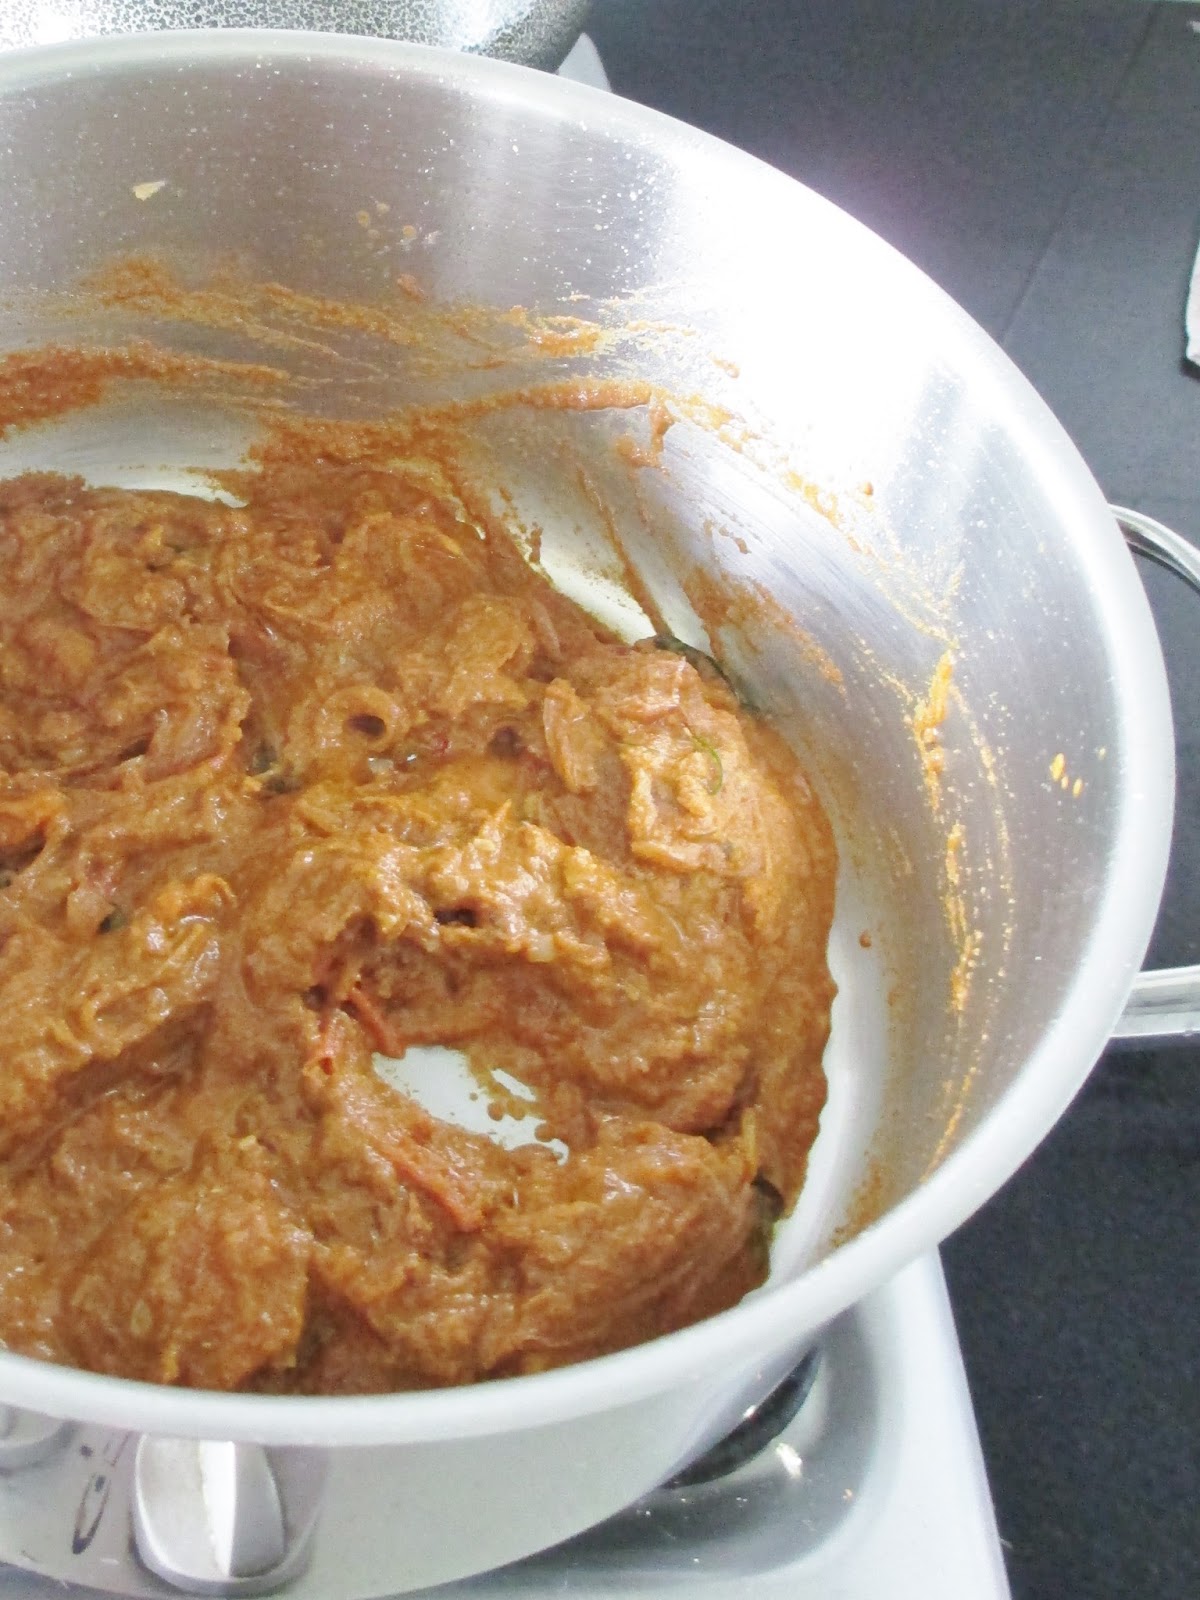

Add the chicken pieces, potatoes, ¼ cup water, and mix well to coat. Cover and cook till done. The gravy should be thick and not runny so add water if need be or if to runny continue to cook till its thick.
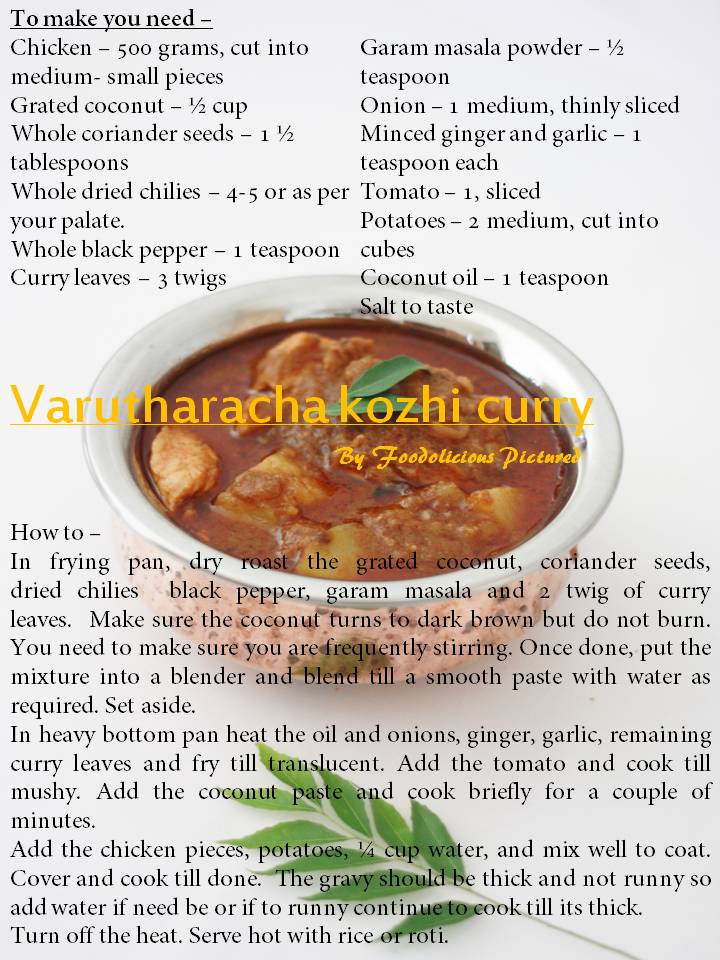
Turn off the heat. Serve hot with rice or roti.

Sending this recipe to – Cook Like Mom’ & an International Giveaway by Foodelicious
Click here for more chicken recipes
Banana Bread

Realized that I haven’t baked anything for little more than a month. The last I baked was on 12 mar for hubby’s birthday. So set out on baking. But in no mood for a cake and zeroed on a bread. I haven’t baked bread before and this is very much my first.

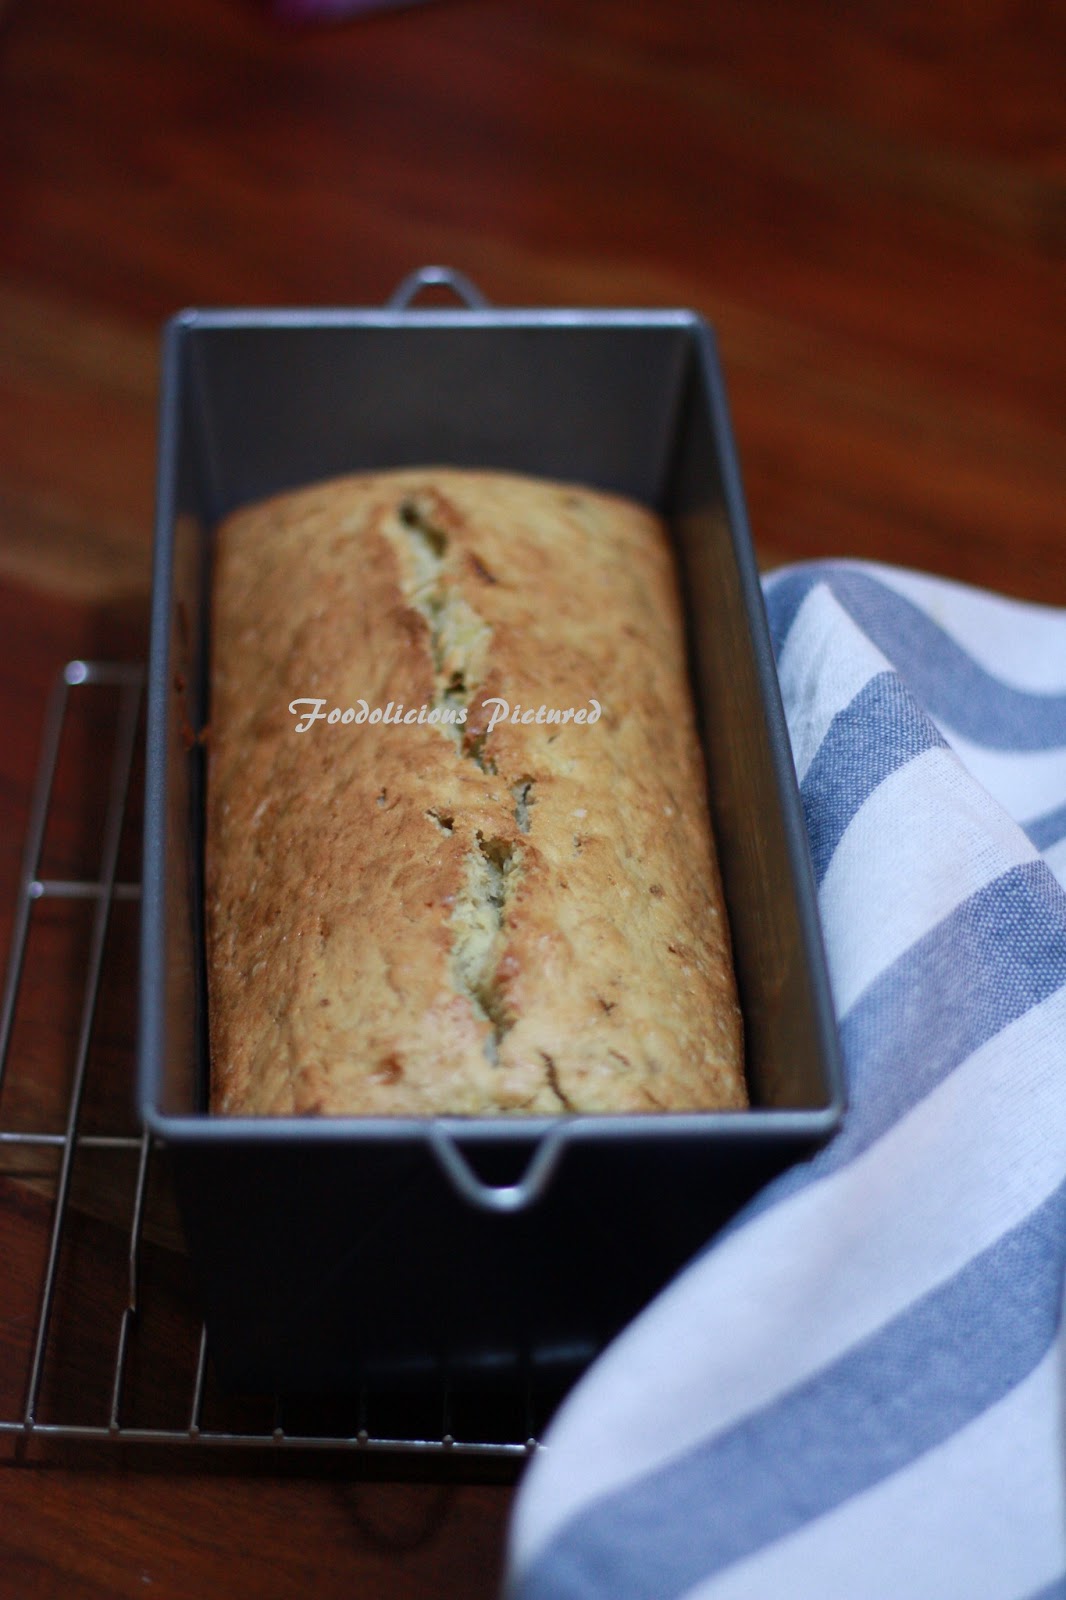
Its a love-hate affair I seem to have when it comes to baking. Every time I think of baking; the thought tires me up. But then when I get started off, I seem to enjoy this the most. I guess it’s a tactile thing. The bread turned out to be a hit. my daughter simply feasted on it. Now that has set me in a mood for more bread making. What better than a home made bread!

You need –
- Plain flour – 2 cups
- Caster sugar – ¾ cups
- Baking soda – 1 teaspoons
- Salt – ½ teaspoons
- Over ripe bananas – 2 1/2, mashed
- Butter – 90 grams
- Eggs – 2 nos, at room temperature
- Vanilla yogurt – ¼ cup
- Vanilla essence – 1/2 teaspoon
- Loaf pan – greased with butter
How to –
Preheat the oven to 180 C.
In a large bowl whisk the dry ingredients (flour, sugar, baking soda and salt) together. Set aside. In another bowl combine the mashed bananas, butter, eggs, yogurt and vanilla.

Stir the wet ingredients to the dry and fold gently till everything is just combined. Do not over mix the batter should be chunky.


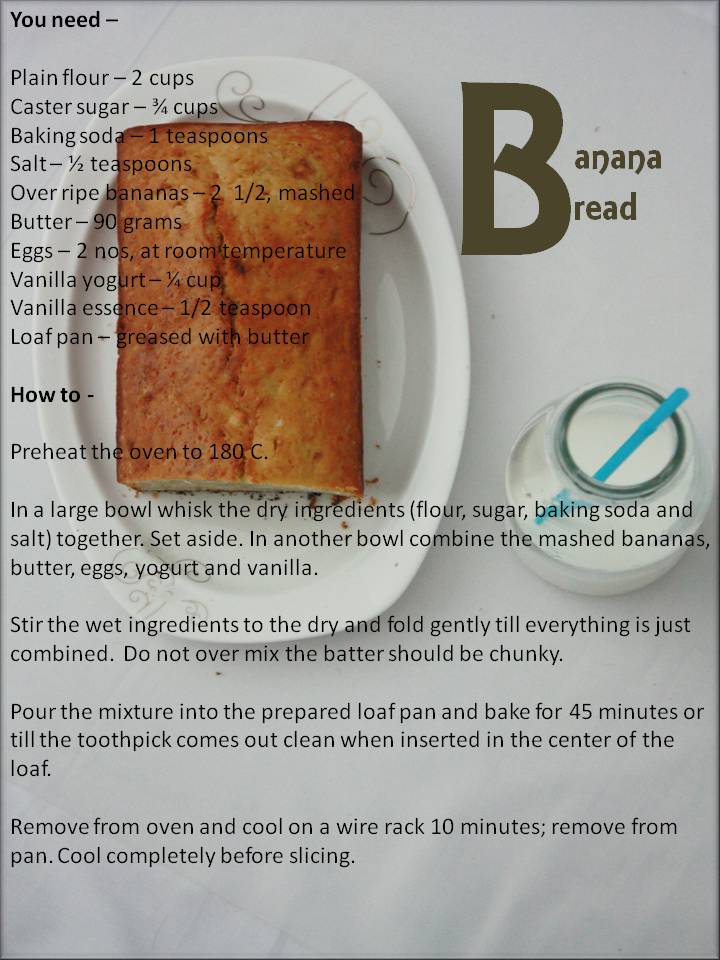
Pour the mixture into the prepared loaf pan and bake for 45 minutes or till the toothpick comes out clean when inserted in the center of the loaf.

Remove from oven and cool on a wire rack 10 minutes; remove from pan. Cool completely before slicing.

Manakesh Zaatar – A guest post by Drooolsss…
I know there is not much happening on my blog apart from my recipes. So thought of kick starting with a Guest post. Happy to introduce you to my dear cousin Priya who along with 2 friends are the proud owners of the blog Drooolsss… Visit their blog for some really interesting recipes. I am sure it’s going to leave you drooling!
I am really thankful to her for having accepted my invite to do a post in a short notice. I am glad we share similar interests (in food). Food is our main topic every time we talk/chat 🙂

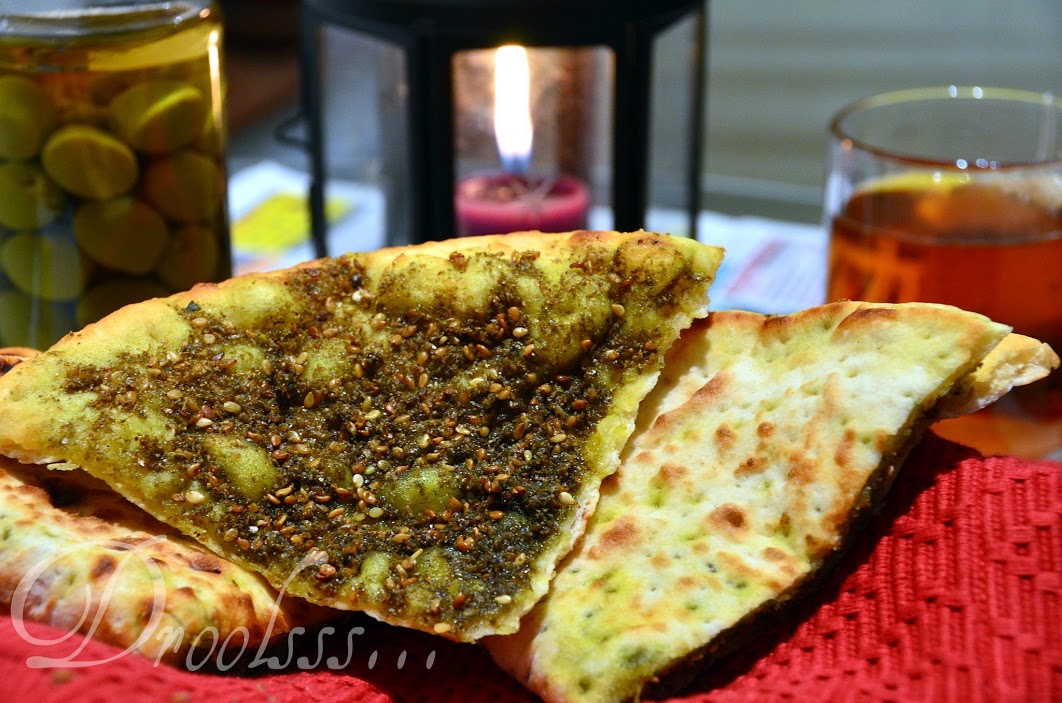
Here is a Manakesh Zaatar and it’s Arab. This is the plain or simple version. This also comes with a combination of cheese which is apparently tastier. But if you prefer it healthier; then this one’s for you.
Here’s a little note from Drooolsss… – “Zaatar” in Arabic is a traditional Middle Eastern herb mixture popular in countries such as Palestine, Jordan, Syria, Lebanon and Turkey. It is traditionally eaten as part of a healthy breakfast with flat bread and olive oil or yogurt cheese. It is also used to spice chicken, meat and vegetables and can be mixed with olive oil and vinegar to make a salad dressing.
It is a mixture that is made out of mostly dried thyme, oregano, sesame seeds and sumac….there are many variations to it that consists of cumin, coriander, fennel seeds etc.
In UAE, it is readily available in all the grocery stores. For all those of you who are not in the Middle East can find it in the grocery store that sell Arab groceries or you can even make it at home.
Manakesh, manakeesh or Manaeesh is an Arabic food consisting of a dough similar to a pizza dough, topped with zaatar, cheese(Akaawi cheese) or ground meat, but used widely in many Levantine countries such as Lebanon, Syria, Jordan and Palestine. Similar to a pizza, it can be sliced or folded, and it can either be served for breakfast or lunch.
A very tasty and healthy dish, served along with a cup of sweet black tea.
For the home made zaatar you will need –
- 1/4 cup sumac
- 2 tablespoons thyme
- 1 tablespoon roasted sesame seeds
- 2 tablespoons marjoram
- 2 tablespoons oregano
- 1 teaspoon coarse salt
How to-
Coarsely grind the sesame seeds in a food processor or with mortar and pestle. Add remaining ingredients and mix well. That’s it, zaatar is ready!!!
This can be stored for a long period if kept in an airtight container in a cool and dark place.
To make Manakesh Zaatar you need –
- 2 cups all-purpose flour
- 2 teaspoons active dry yeast
- 1 teaspoon salt
- 1/4 cup water, lukewarm
- 1 cup zaatar
- 1/2 cup olive oil
How to –
Mix the yeast in ¼ cup of lukewarm water and let it sit for 15 minutes.
Mix the zaatar with the olive oil and keep aside.
In a bowl mix the flour and salt. Add the yeast solution and knead well to form a soft dough by adding water little by little.
Grease a bowl with a little oil and transfer the dough into this bowl. Cover the bowl with a moist kitchen towel and keep it in a warm place for 1- 2 hours. After 2 hours the dough will rise and double in size.
Knead the risen dough on a floured surface for a few minutes. Now divide the dough into 8 equal parts and using a rolling pin, roll out each portion into your desired thickness and size(thickness depends on whether you want a crusty or soft base. For a crusty base roll out into thin rounds and for a soft base roll out into thick rounds.)
Using a fork prick generously on the rolled out bases. Now smear one tablespoon of the zaatar and olive oil mixture on each base. Spread it all over the base.
Bake these in a preheated oven at 350F for 12 – 15 minutes.
Serve warm with a cup of extra sweet black tea.