Torcettini di Saint Vincent or twisted cookies


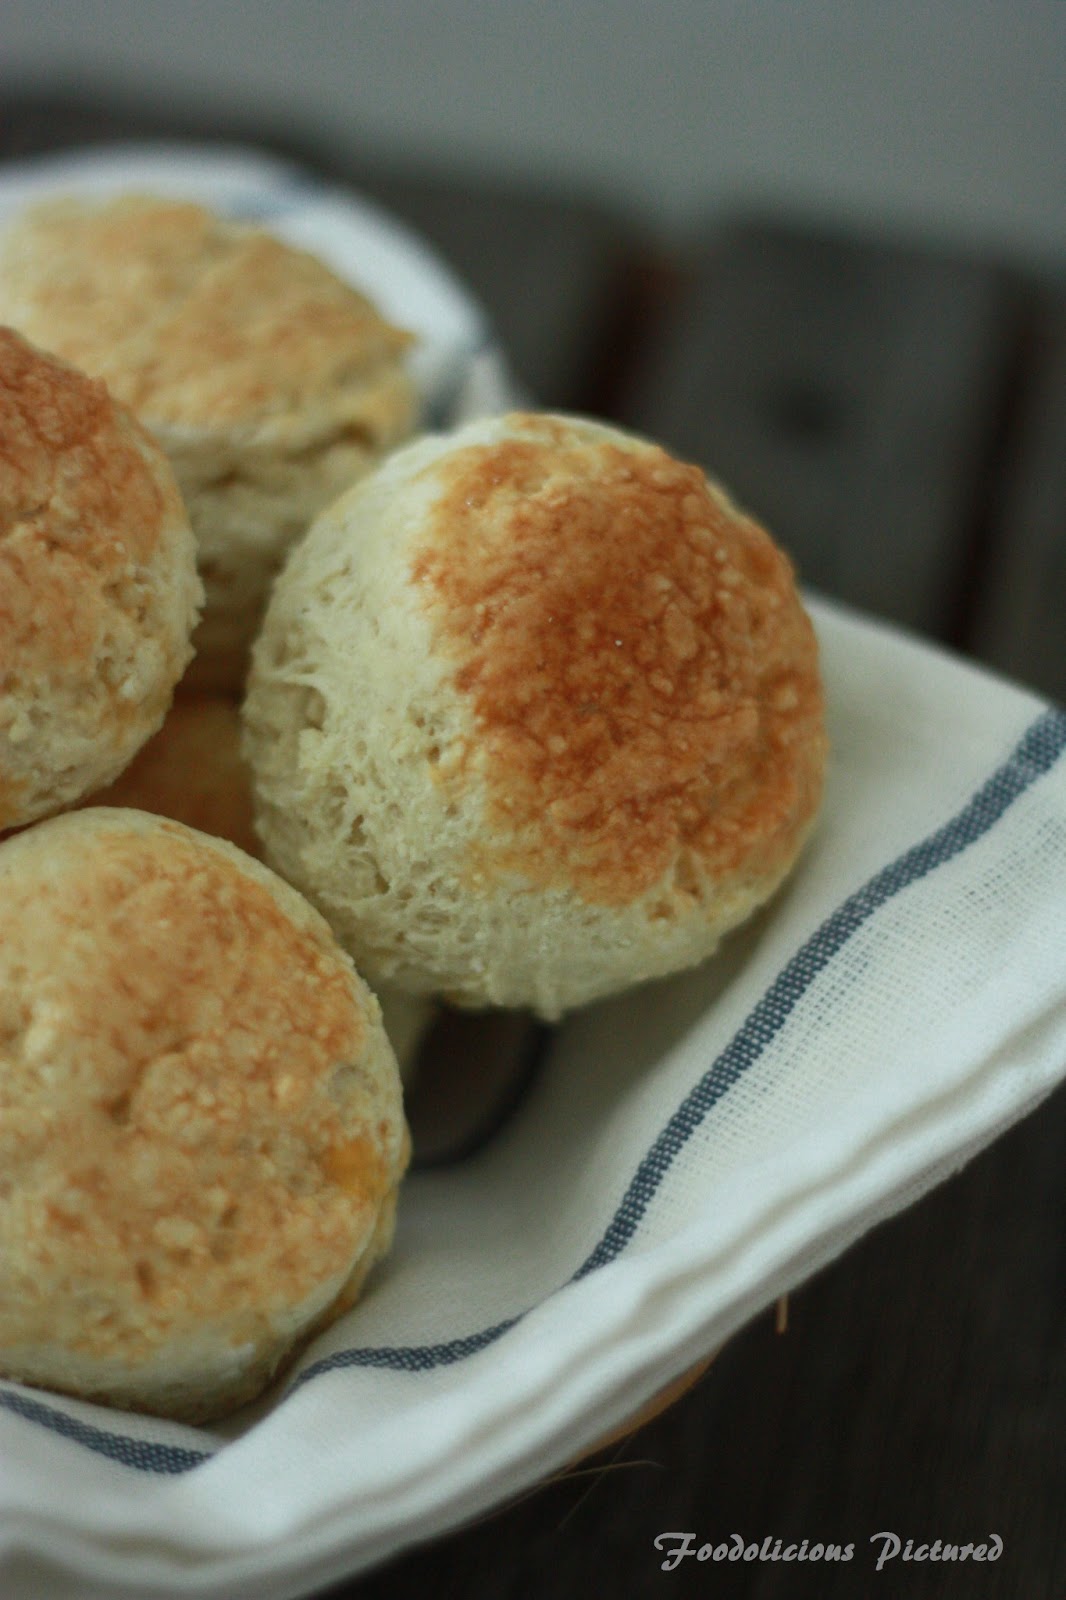
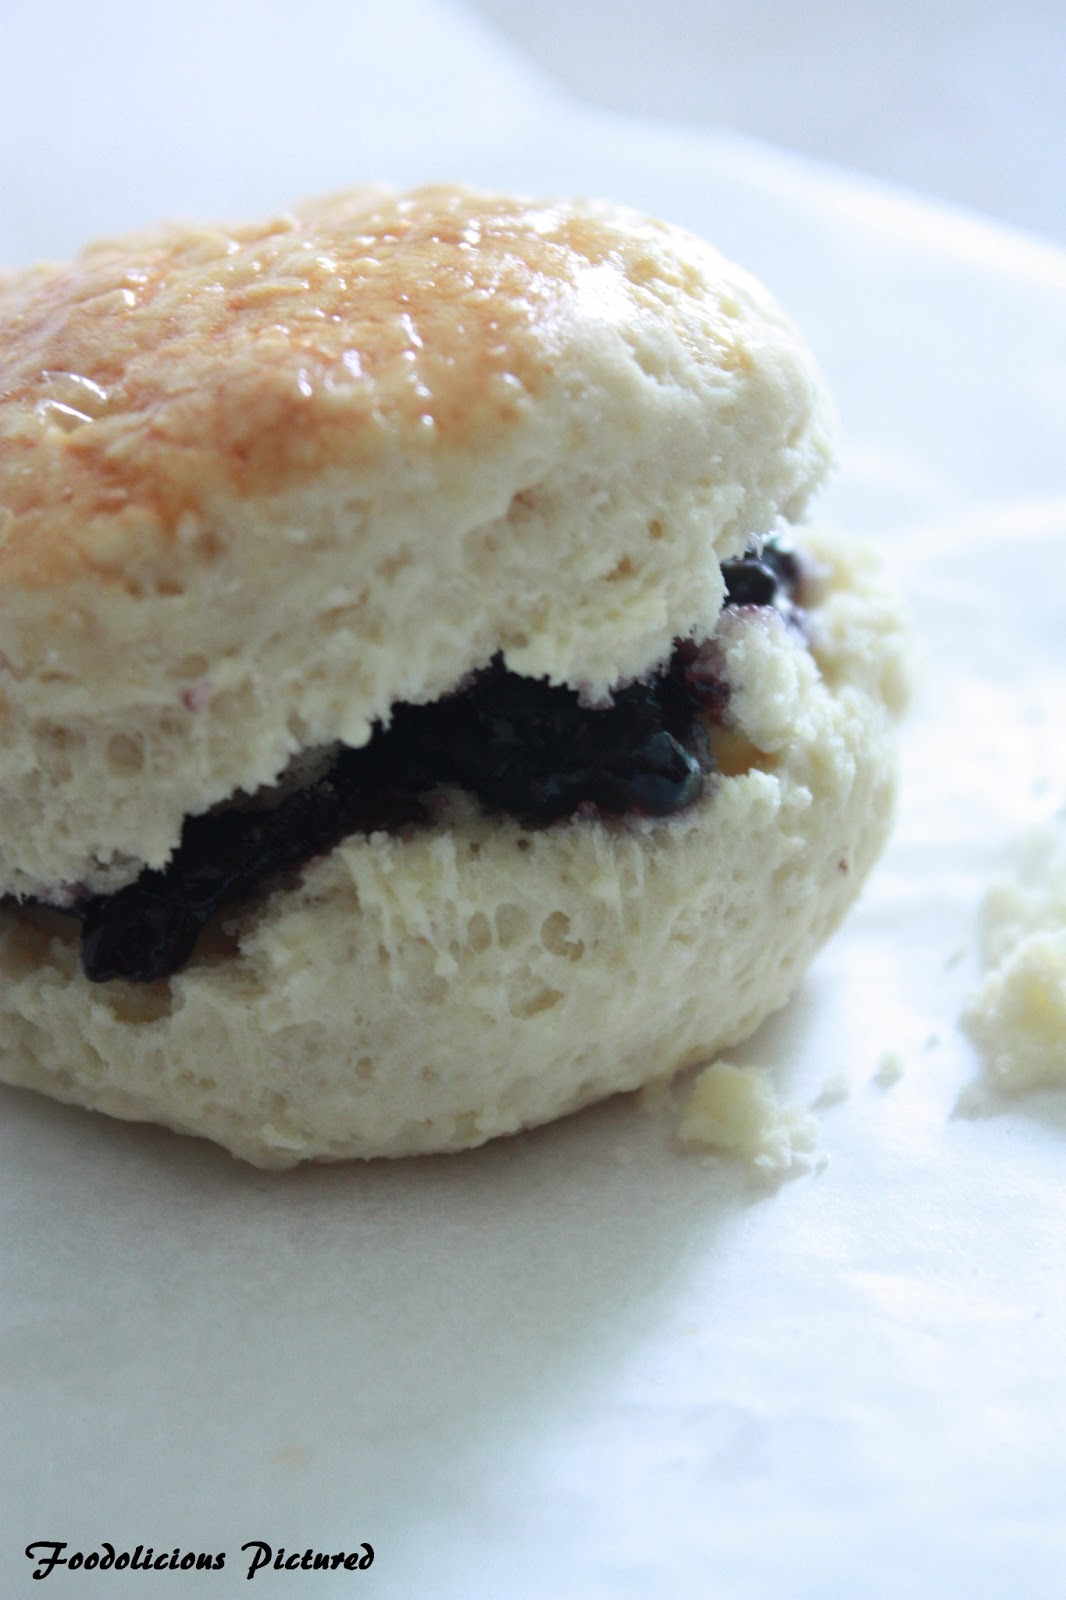
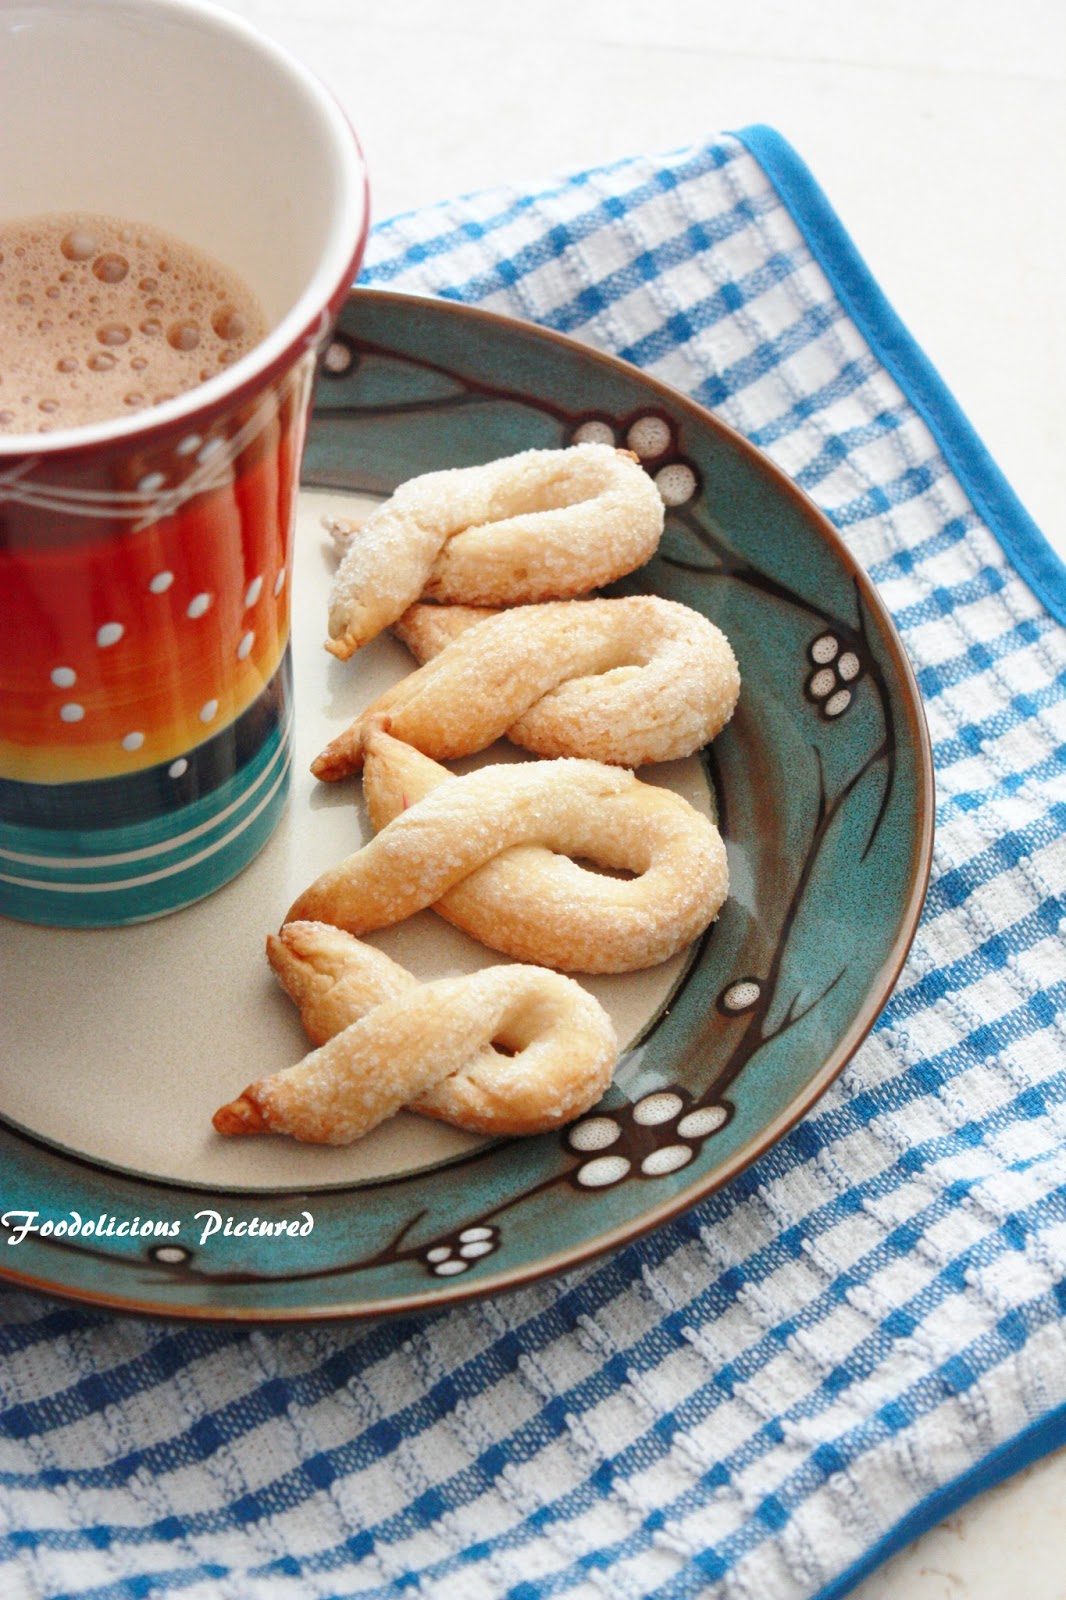
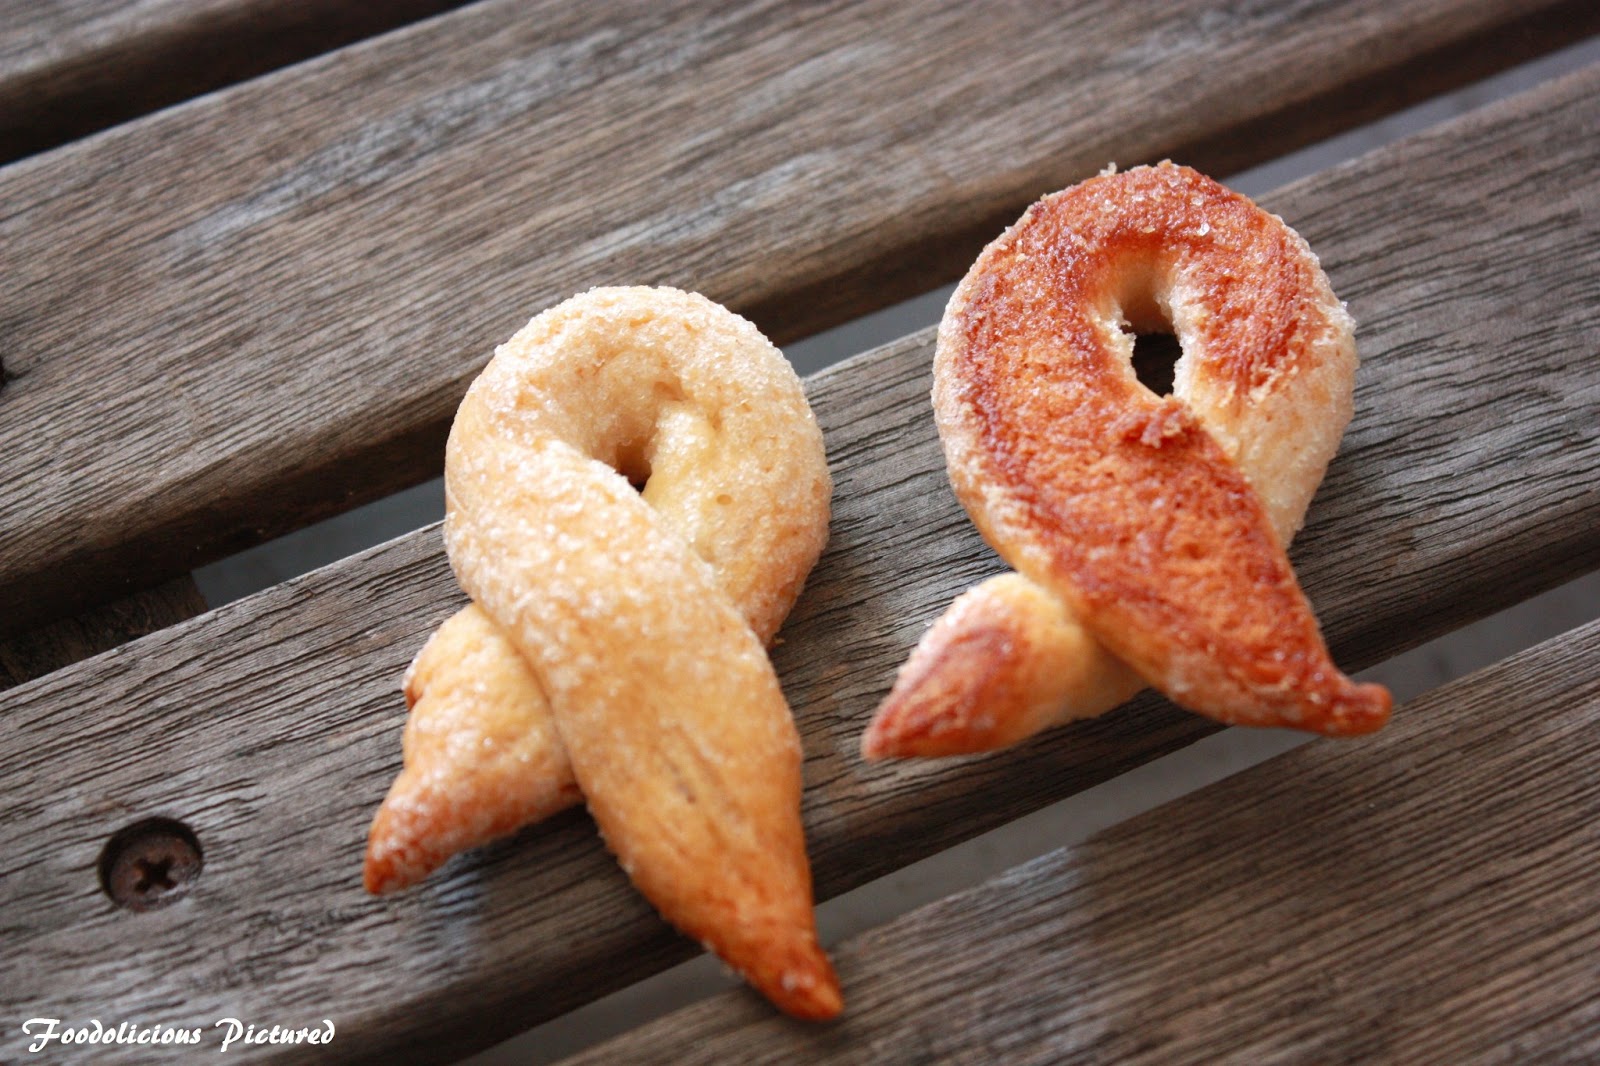
These yeast-ed cookies are from Val d’Aosta, north western part of Italy. This is the first time I was baking yeast-ed cookies and was much loved at home. They are somewhere between a bread and cookie. They are caramelized on the outside and crunchy.


Adapted from bakingobsession.com. Since I didn’t want to make a huge batch I halved the recipe. So here is how I did it

You need –

  • Warm water, about 110 F – 1/2 cup 
  • Active dry yeast – 1 1/4 teaspoon 
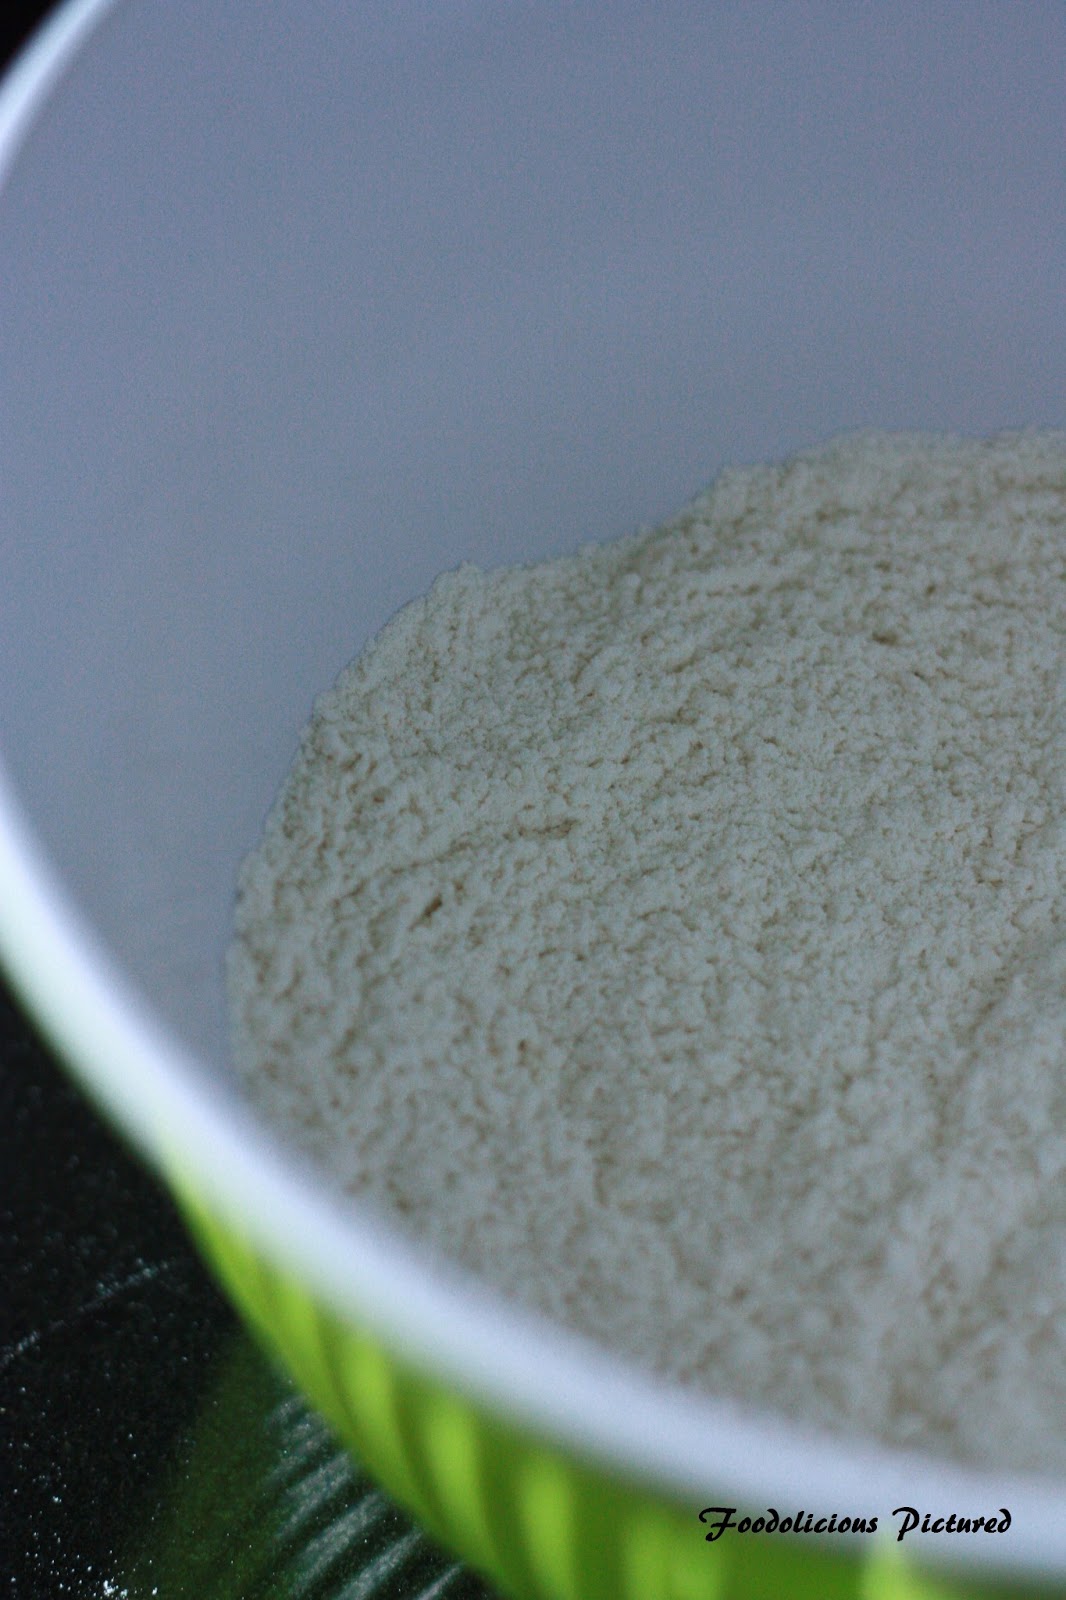
  • All-purpose flour – 1 1/2 cups
  • Salt – 1/4 teaspoon
  • Unsalted butter, cold and cut into cubes – 35 grams
  • sugar for rolling the cookies – 1/3 cup

How to –

In bowl combine the yeast and water. Mix well and set aside.

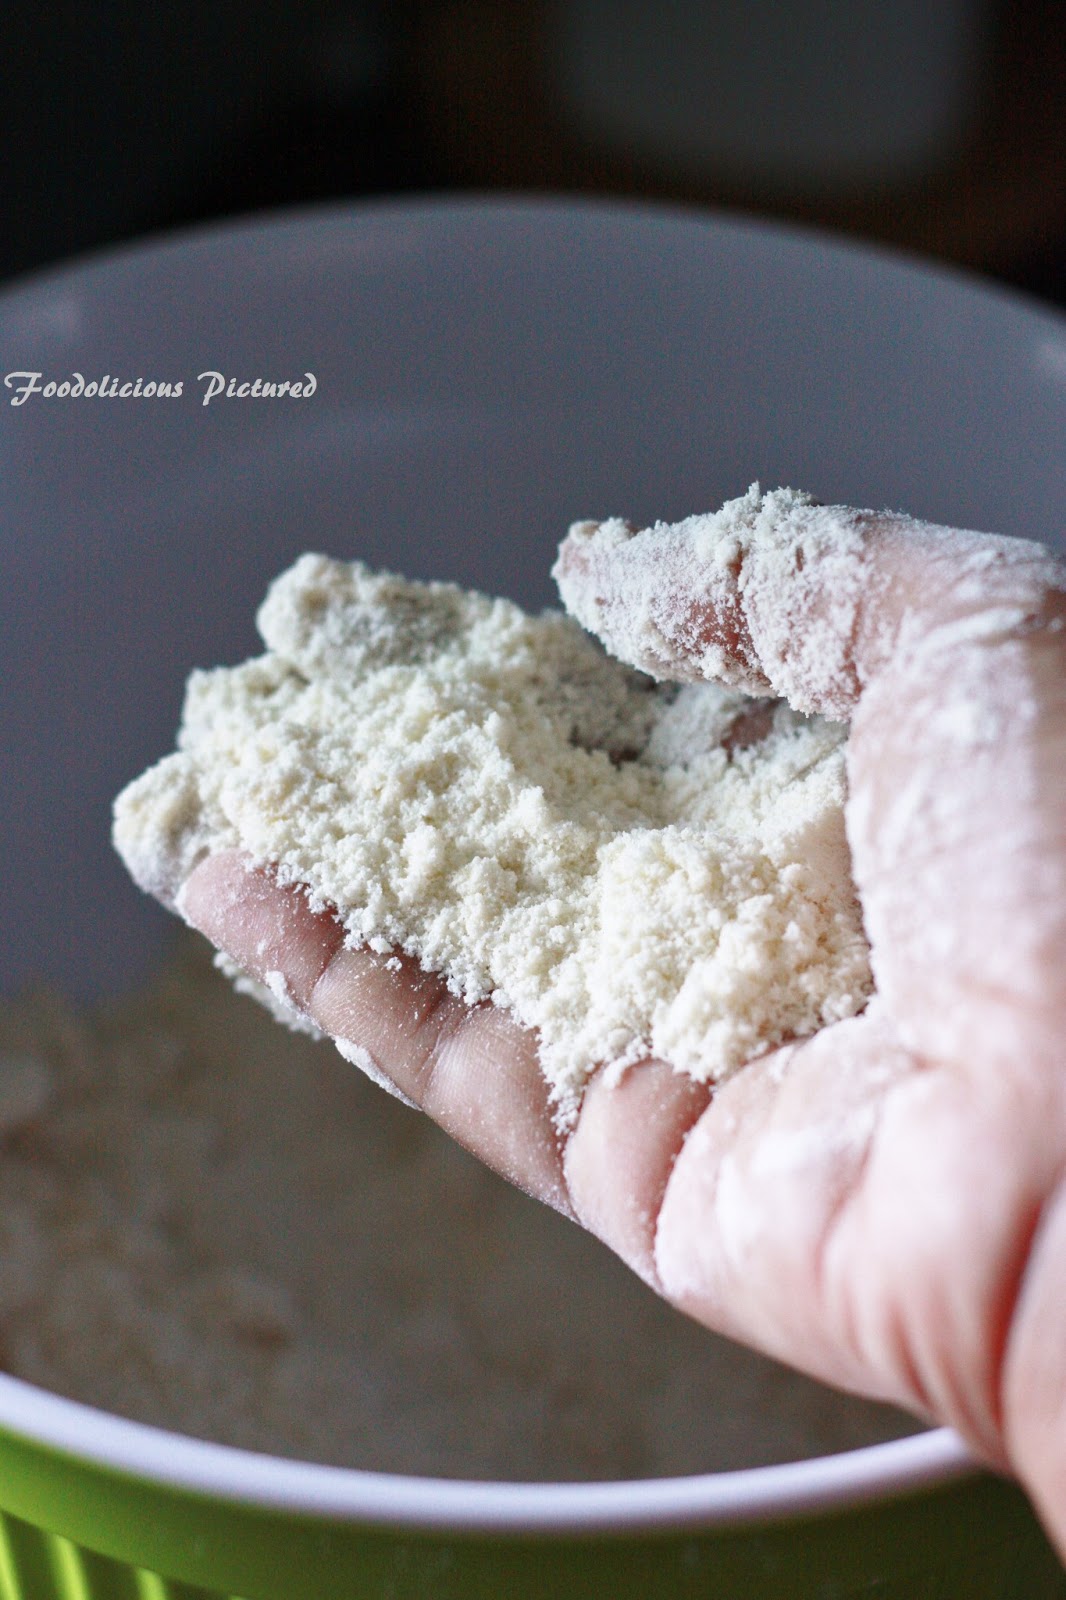
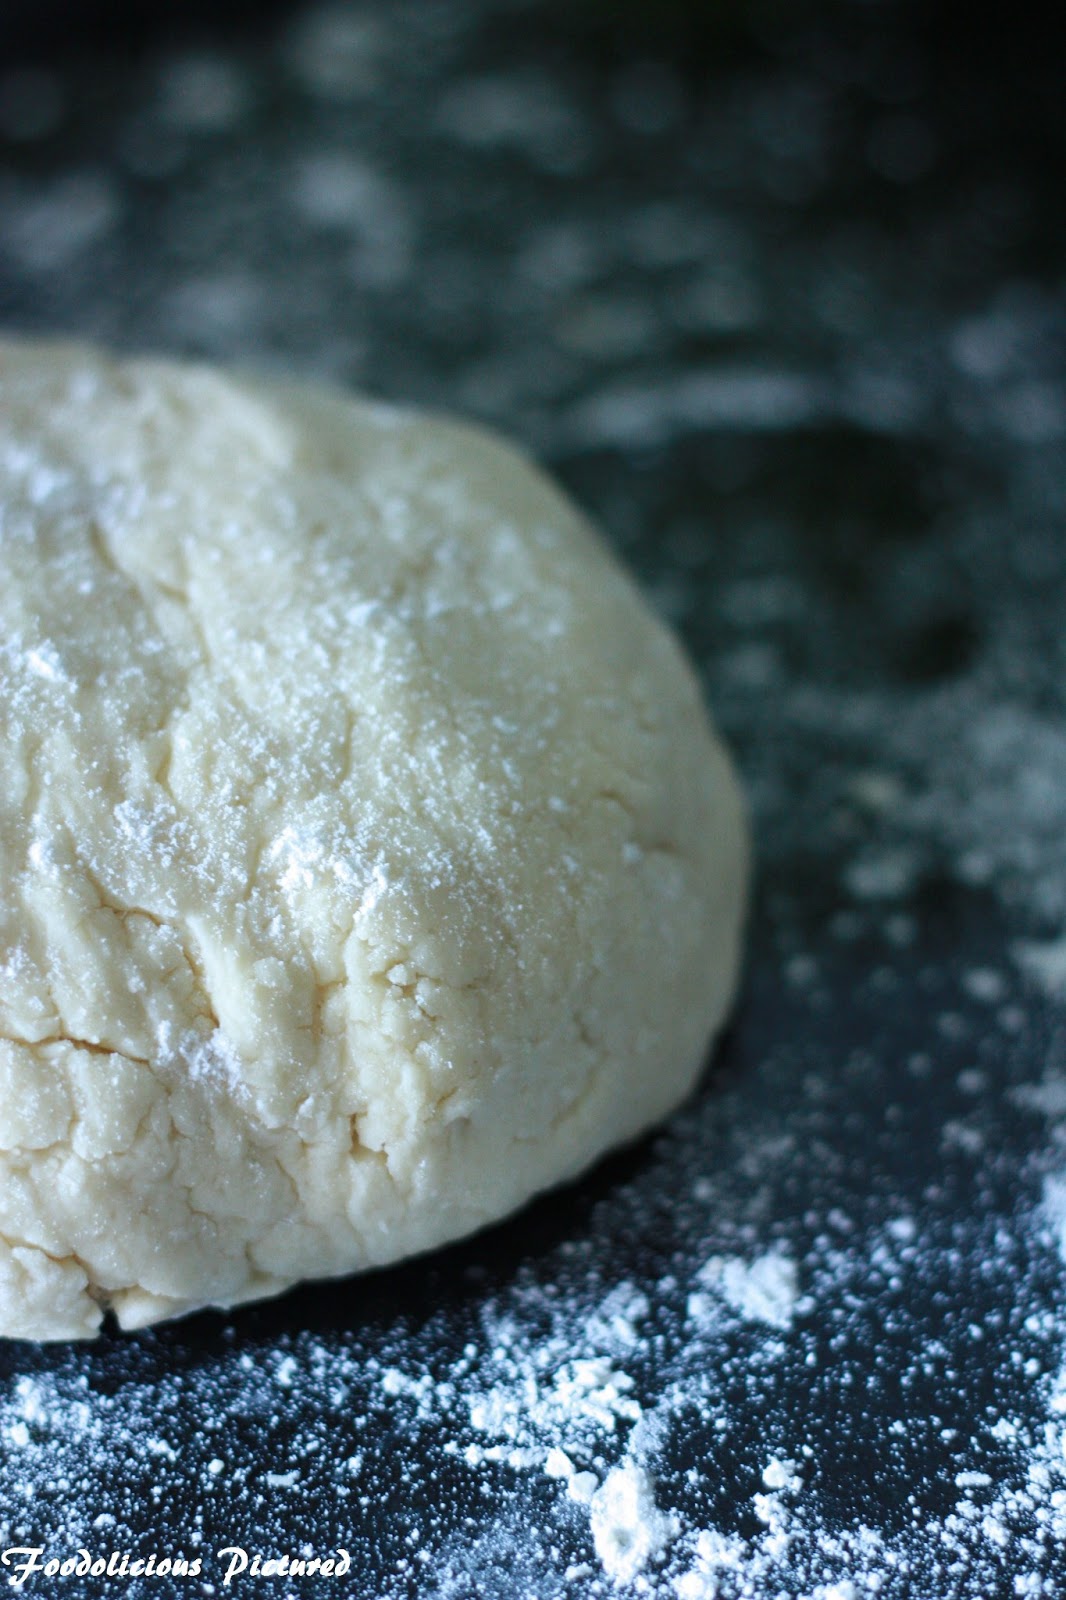
In mixing bowl, add the flour and salt and mix well. Add in the butter and with clean hands combine the butter and flour. Once done the flour should look like fine crumbs. To this add the yeast mixture and gently mix till everything comes together and form a ball. Please make sure not to over kneed. You could use a processor to do this for you.

Oil a bowl, put the dough into the bowl and turn the dough so its greased well on the top and bottom. Cover with a cling wrap and let it rest for an hour or until in has risen well.
Once the dough has raisin , press it down to deflate. cover and refrigerate for at least 1 hour or to a maximum of 24 hours.

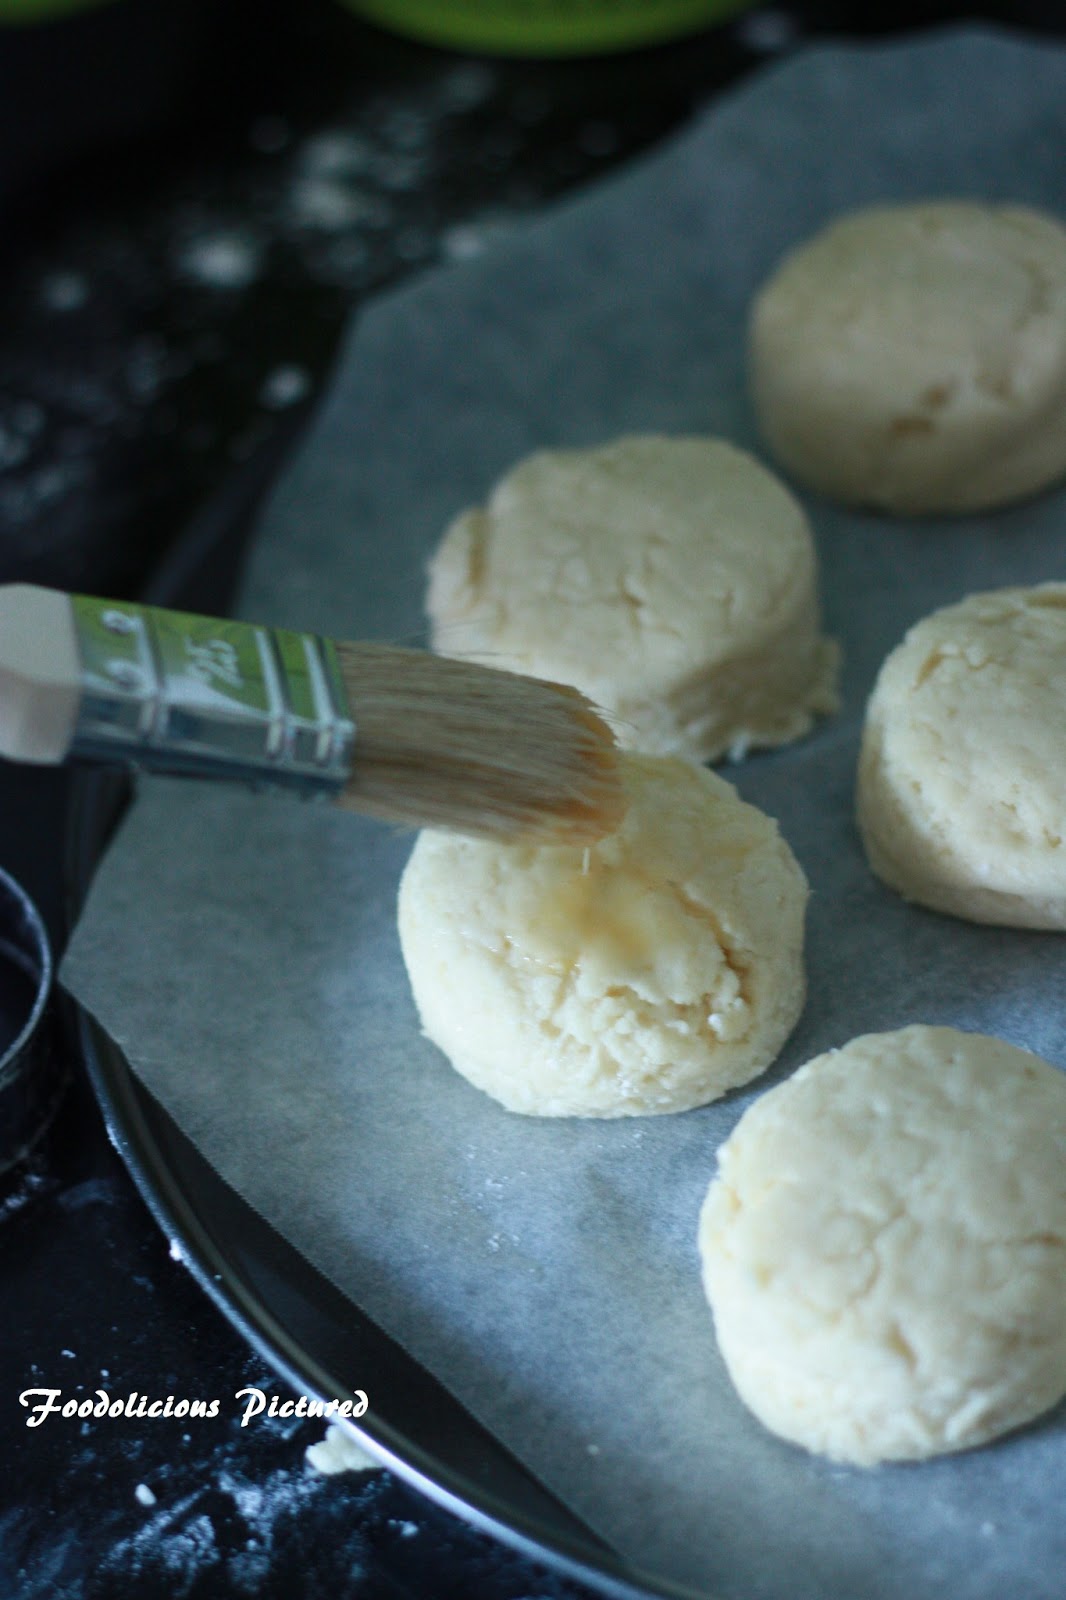
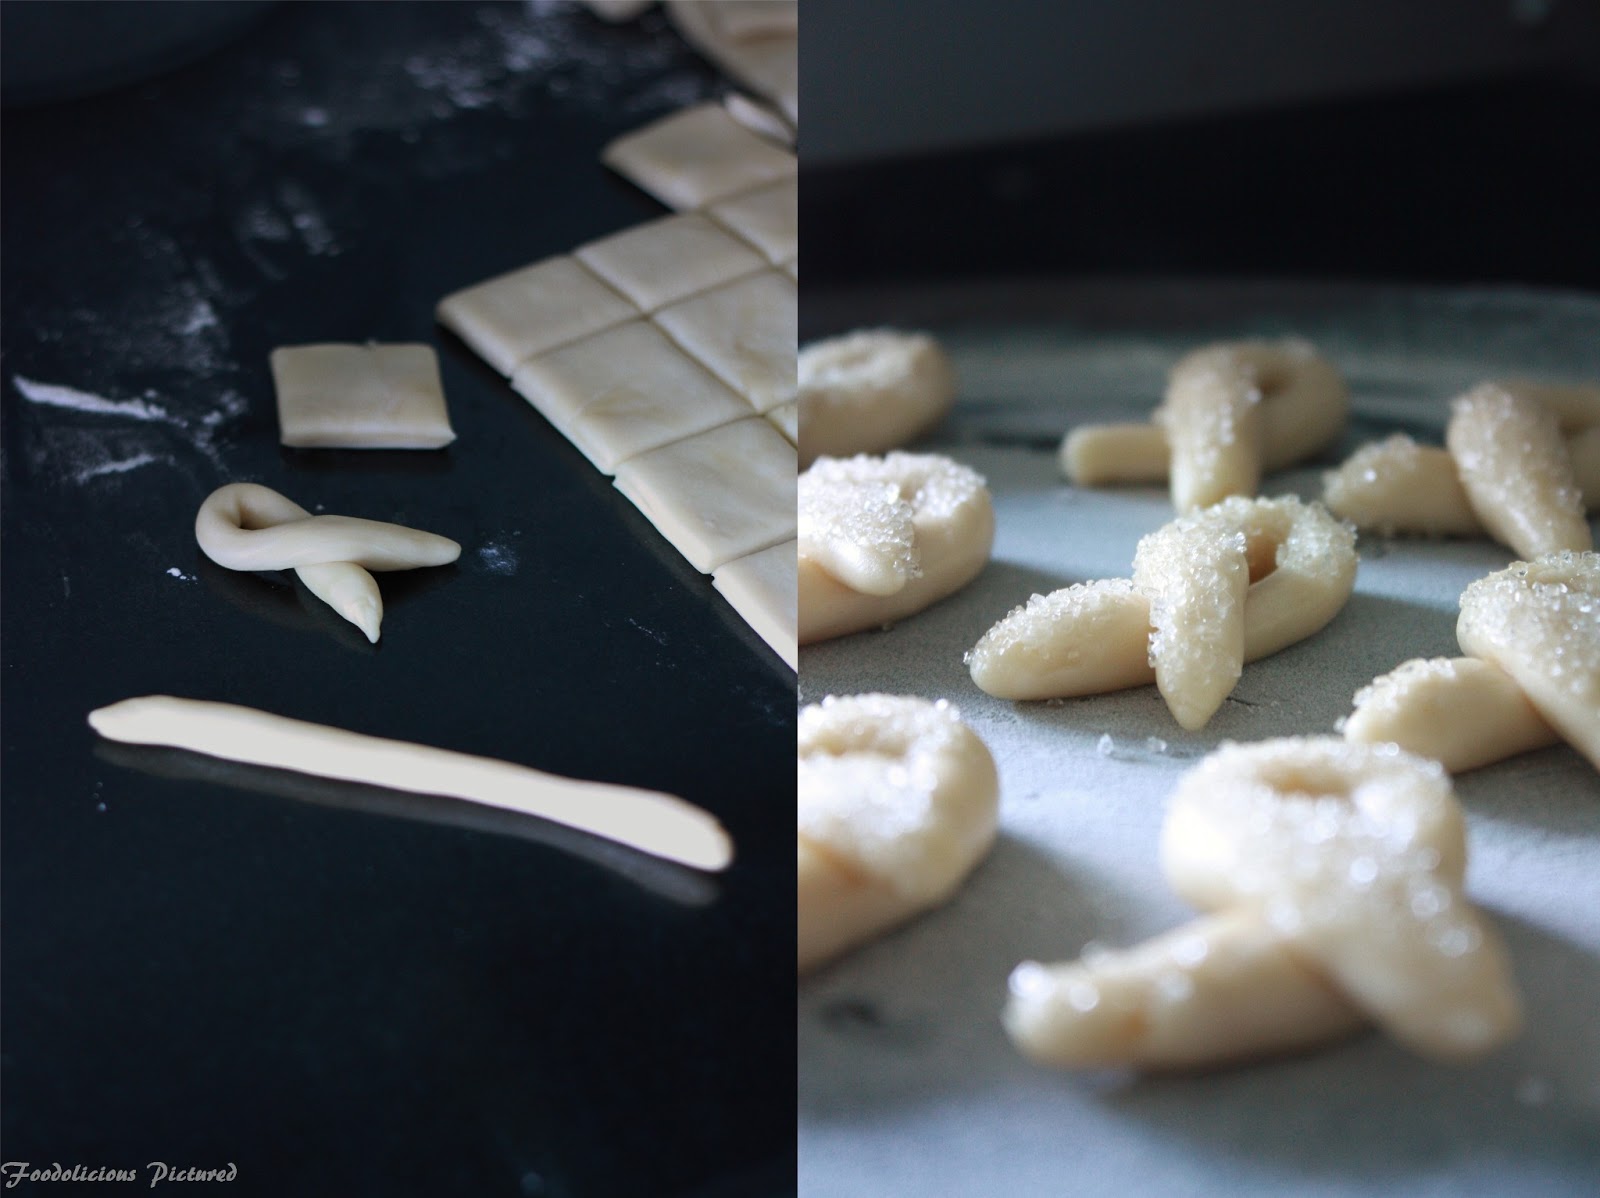
To form the cookies, place the dough on the work surface. roll to a square shape about 6 inch thick. Using a pizza cutter, cut the dough into equal squares. Take each square and roll into a pencil think and 5’inch long using your palm. Spread the sugar on a plate and roll the dough to coat well.


Form a loop of the rolled dough by crossing over the edges. Place them on a baking tray lined with parchment paper with  1 1/2 inches space between each cookie. Let it sit for 20 minutes until they slightly puff up. Bake them in pre-heated 160 C over for 20-25 mins or until they are light and the sugar has caramelized to a light golden crust.


Cool the cookies on wire rack before you store them in air tight containers.


Tomato-basil chutney

Chutneys are such an integral part of Indian cuisine. Back home, mom made chutneys every other day for breakfast and my favorite is her coconut and tomato chutneys. The best part is, every time she would take some left over rice and chutney; mix well and make a big ball and give it to me. Oh I love that so much. And that’s exactly what I do every time I make chutney and lucky my hubby also likes it. Old habits die hard 🙂

Over to the recipe, this one’s adapted from my mom’s.  I added paprika which gave a bit of smoked flavor to the chutney and of course the basil, which perfumed the chutney and was very refreshing.


You need –

Tomatoes – chopped and de-seeded, 1 cup
Sweet Basil – 3-4 leaves, minced
Onion – 1 medium, finely chopped
Garlic – 2 large pods, finely chopped
Chili powder – 1 teaspoon (I used Kashmiri chili powder)
Paprika – 1 teaspoon
Turmeric powder – 1/4 teaspoon
Ground pepper – 1/4 teaspoon
Mustard seeds – 1/2 teaspoon
curry leaves – 1 sprig
Oil – 1 tablespoon
salt to taste

How to –

Heat only in pan, add the mustard seeds. once the seeds start to splatter, add the curry leaves. Tip in the onion, garlic and cook till the onion is translucent. Add salt, all the powders,  except for pepper and fry till the oil start to separate.

Add the chopped tomatoes and basil. Mix well, cover and cook till the tomatoes are mushing. Uncover, add the ground pepper and mix well.  


Turn off the heat and serve with idly, dosa or rice.


Penang style chicken curry – My guest post

This is my first guest post and its for a beautiful blog Elephants and coconut trees by Meena, the name that really fascinated me. I can’t thank Meena enough for giving me this opportunity do the the guest post. I haven’t met her yet and we got to know each other though our blogs and e-mails. But I must tell you she is one of my best blogger friend now. It’s wonderful to have met you here Meena.

She has some great collection of recipes and its hard to choose yet here’s a few of my favorites from her blog. Do Visit her blog for great recipes.
The recipe I choose for the post was Penang Chicken curry. I know she loves chicken because every time I post a chicken recipe, she tells me she is drooling. Thought of something from this part would be lovely. This is a mix of Malay, Thai and Indian. 

To know a little of me and for the recipe click here 

Thank you for this e-set sari Meena 🙂 Loved it.

Scones


The first time I made scones it turned out to be sore. Not sure what went wrong but it was so terrible that If I hit someone and they could bleed.  Hmm some days are not just yours .  Nevertheless, I gave it another try over the weekend.  I first made some mini scones and then went on to make a whole batch after the mini scones tasted perfect.

Mini scones
The recipe is adapted from BBC good food. 


You need-
  • Self-raising flour , 350 grams + plus extra for dusting
  • Salt – 1/4 teaspoon
  • Baking powder – 1/2 teaspoon
  • Butter – 85 grams, cubes
  • caster sugar – 3 tablespoons
  • Warm milk – 175 mls
  • Vanilla extract – 1 teaspoon
  • Beaten egg , to glaze

How to –

Pre-heat the oven to 200 C.

In a mixing bowl, mix together flour, Sugar, salt and baking powder. Add the butter and rub with your figures until the mixture looks like fine crumbs. Add the vanilla essence to the milk and stir. Make a well in the middle and add the milk. Slowly mix the flour to form a soft dough.


Sprinkle the work surface with some flour; place the dough and gently shape into a ball and smooth. Brush the excess flour and roll the dough till its 2 cms thick. Cut the dough using a 5 cms cookie cutter. To ensure the dough does not stick to the cutter, dip the cutter into the flour before plunging into the dough. 

Place the scones on the baking tray. Brush the top with beaten egg and bake for 12 minutes or till golden on top.

Remove from the oven and let it stand for 10 minutes. Serve warm with butter, Jam or sour cream.


Soya kheema matar


Soya, like many of you know that its packed with proteins. I  don’t like soya milk but a big fan of the chunks/soya meat. I love this recipe and make it quite often but realized that its not featured in my blog. Its simple and easy to make. To me this is a quick-cooking standby when you long for some meat but  left with no meat in freezer or pressed for time.

You need –

  • Soya chunks – 1 cup
  • Frozen peas – 1/2 cup
  • Cumin seeds – 1/2 teaspoon
  • Onion – 1 large, finely chopped
  • ginger paste – 1 teaspoon
  • garlic paste – 1 teaspoon
  • Tomato – 1 large, chopped
  • Coriander powder – 2 teaspoons
  • Chili powder – 1 1/2 teaspoons
  • Meat masala – 1 teaspoon (can use curry powder instead)
  • Turmeric powder – 1/4 teaspoon
  • Ground pepper – 1/2 teaspoon
  • Bay leave – 1
  • Oil – 1 tablespoon
  • Salt to taste
How to –
 
Soak the soya chunks in hot water for 15 minutes. Drain well; into a chopper and mince the chunks. Set aside.
 
Minced soy chunks
In a heavy bottom pan, heat oil add the bay leave. Once fragrant, splatter the cumin seeds. Make sure not to burn them. Add the onions, ginger- garlic paste, fry till the onions are translucent and the raw smell of the ginger-garlic paste is gone.
 
Add all the spice powders, salt except for pepper and fry till the oil start to separate. Tip in the tomato and cook till mushy. Add the minced soya and peas. Add 1/4-1/2 cup water. cover and cook till done. uncover and let it cook for 4-5 mins or till all the water has reduced and the gravy is dry. Add the ground pepper, mix well to combine and turn off the heat.
 
Garish with coriander leaves. Serve hot with rice or roti.


Black & White Wednesday #85

My B&W picture for Black & White Wednesday #85. A Culinary Photography Event created by Susan of The Well-Seasoned Cook, now organized by Cinzia of Cindystar, and hosted this week by Priya of *The Humpty Dumpty Kitchen. For more details click here 


Mint and coriander rice

I came across this recipe on a TV show but was unsure if this would be good with just mint and coriander. Glad that I gave it a try. I haven’t had any rice dish that would leave you refreshed after you have eaten it.

You need –

  • Basmati rice – 1 cup
  • fresh coriander leaves – finely chopped 2 tablespoons
  • Fresh mint leaves – finely chopped 1 1/2 tablespoons
  • A good pinch of saffron strands soaked in 1 tablespoon warm milk
  • Olive oil– 1 tablespoon (you can use clarified butter/ghee instead)
  • Cumin seeds – 1/2 teaspoon
  • Cinnamon – 1-inch piece
  • cardamom pods – 2
  • Star anise – 1
  • Bay leaf – 1
  • salt to taste
  • 2 cups of hot water
Fresh mint from my little garden 🙂

How to –

Wash and clean the basmati rice. Soak for 30 minutes, drain well and set aside.


Heat the oil in or pressure cooker pan. Add the whole spices and cook till fragrant. Add the rice, mix well and fry for 1-2 minute(s). Add the water, salt and bring to boil. Add the Saffron along with milk, coriander and mint leaves. Give a good stir; cover and cook till done.  


Turn off the heat and leave to stand for 5 minutes before you uncover the rice.Remove the lid, fluff the rice with a fork. Transfer to a serving dish.  

Serve hot with curry or just raita.

The Colour Me Photography Challenge Series – and its Colour Me Yellow for MAY

This one is for “The Colour Me Photography Challenge Series” hosted by Priya of thehumptydumptykitchen.blogspot.in. 

For more details click here http://thehumptydumptykitchen.blogspot.sg/search/label/The%20Colour%20Me%20Photography%20Challenge%20Series

Mango-saffron kulfi

I can’t get enough of the Mangoes… Well most of the time we end up eating fresh mangoes and don’t want to make anything of it or rather I have no patience. The other day I happened to find some Indian kesar Mangoes. Picked up a few to make kulfis.
 
The recipe is from one of my cook books. It was creamy and the nutty flavor was just so perfect to bring back the memories of my childhood in Bangalore where I grew up.   There was a guy who would pop-up during the summer selling kulfi’s and we friends feasted on them. I still remember he would come on bicycle with huge clay pot sitting at the back of the cycle and covered with a red cloth all through summer and once the season was over we never saw until the year.
 
Well cherished memories… Something you never want to let go off!
Over to the recipe, I have used steel glasses as I didn’t have the traditional kulfi molds. I was keen on getting the cylindrical shape so the steel glass was perfect. But you can use the regular popsicle molds.
You need –
  • Mango puree – 2 cups ( I used 3 big mangoes)
  • Canned evaporated milk – 400 grams
  • Single cream – 200 mls
  • Saffron strands – 1 teaspoon
  • Ground almonds – 25 grams
  • Granulated sugar – 75 grams or as per your taste
  • Freshly ground cardamom seeds – ¼ teaspoon
  • Roasted pistachio nuts to garnish
How to – 
 
Puree the mangoes in a blender and pass through the sieve. Set aside. 
 
In heavy bottom sauce pan, pour the evaporated milk, cream and stir well. Put over a medium heat. In a bowl mix the almonds, sugar and add to the milk and cream mixture. Cook stirring constantly for 5-6 minutes or until the mixture thickens slightly. Turn of the heat add the saffron strands and allow the mixture to cool completely, stirring frequently 
ensuring no skin if formed. Once cooled completely add the Mango puree, ground cardamom  and mix well.
 
 
Pour the mixture into the molds and cover with cling wrap. Freeze for 5-6 hours or overnight. Transfer the kulfi to the refrigerator for 30 minutes then invert onto a serving dish. 
Garnish with crushed pistachios and serve.
Sending this recipe to Giveaway Summer ’13 Drinks & Desserts by Gurus Cooking
Summer Drinks and Desserts Giveaway